|
Right to Left Diagonal Pattern [Z] Twist [worked right to left] |
|
Headstick Set Up
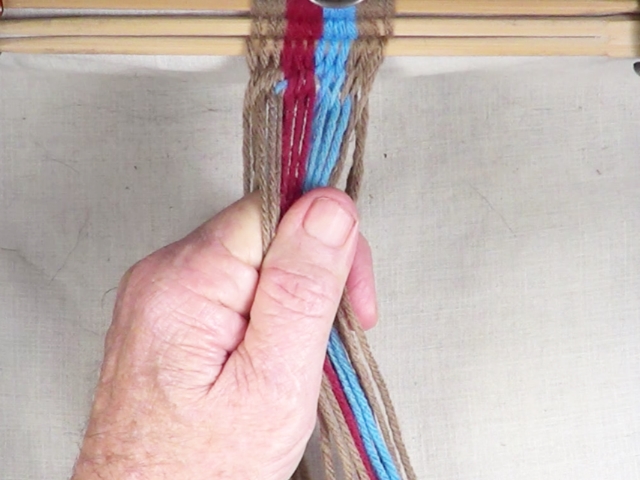
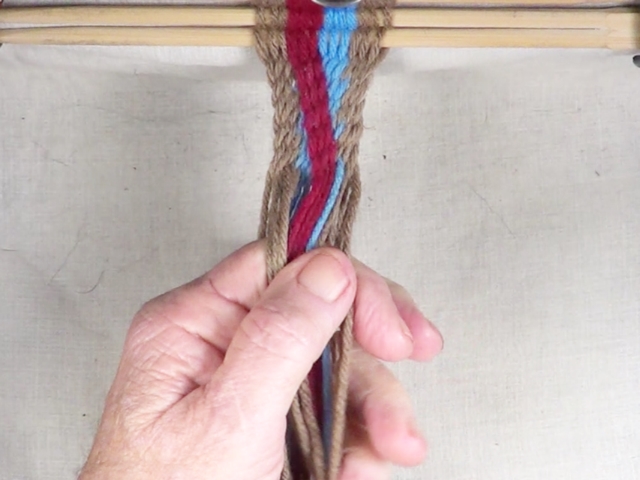
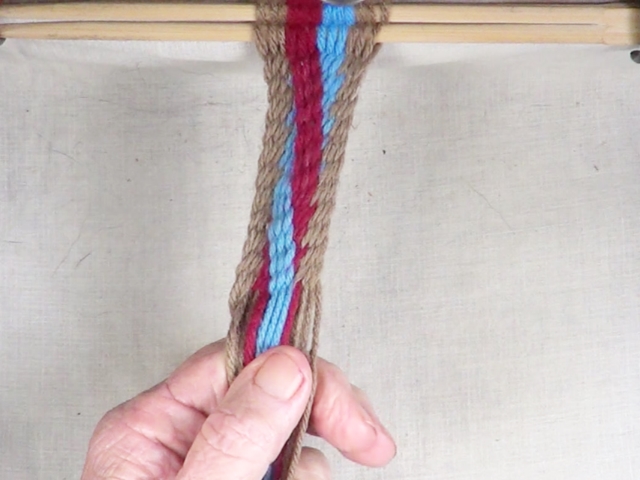
This part of the [Z] twist interlinked diagonal fingerweaving tutorial will be worked from the right hand side to the left hand side of the workpiece. The hedstick is set up using two contrasting color for the diagonal pattern and a third color for borders. The shed is picked up on the index finger of the left hand so that the first strand on the right hand side of the workpiece is in the top layer of the shed. |
[figure-1]

|
| Go to: Top of page | Next |
|
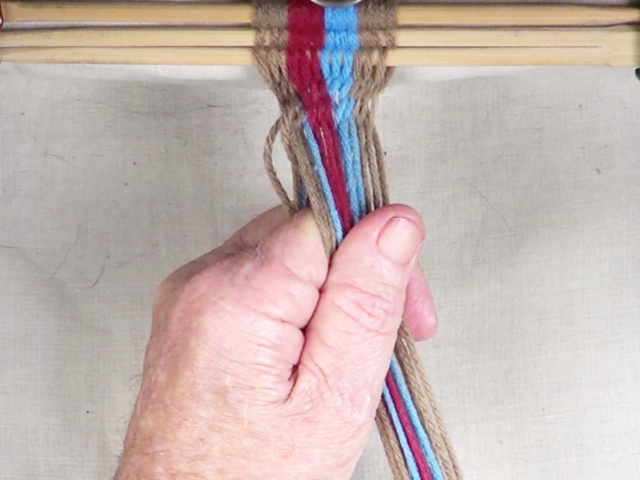
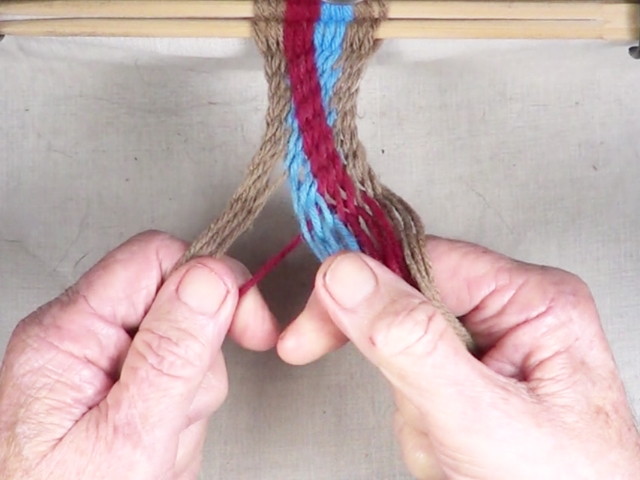
First Pass
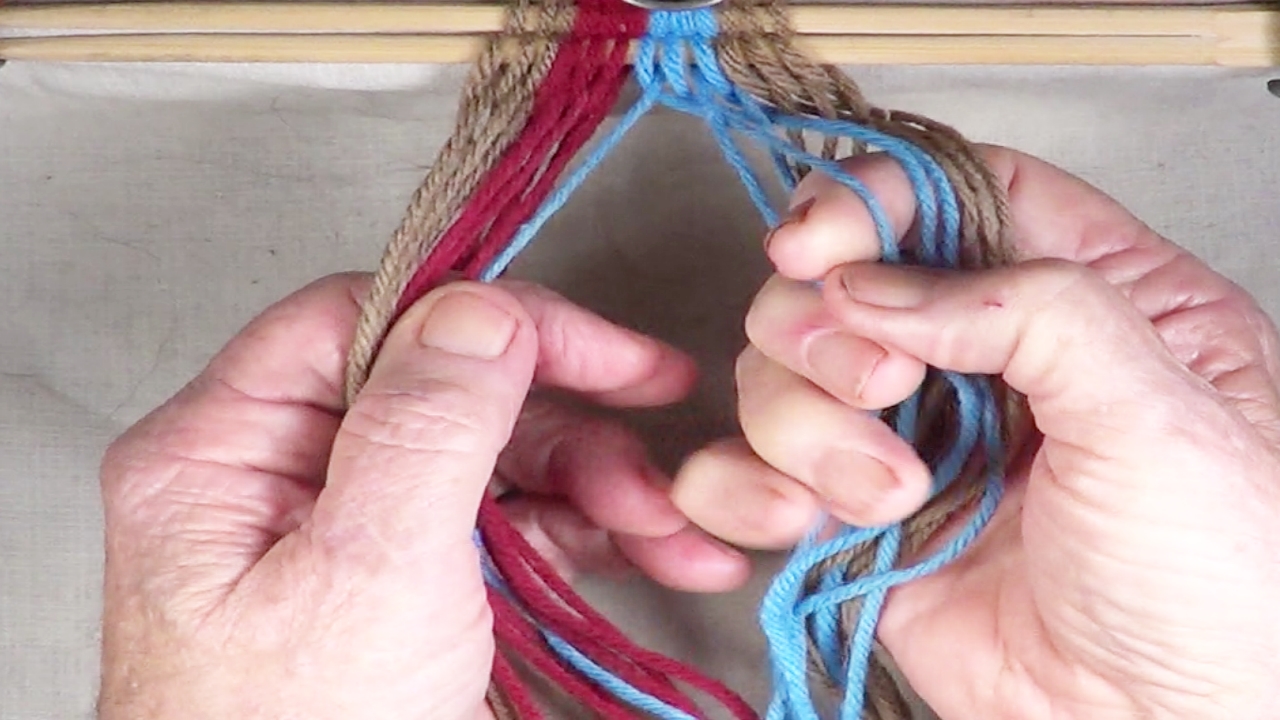
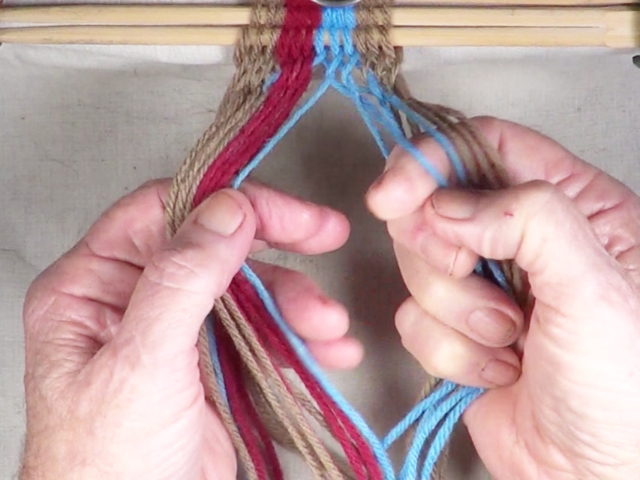
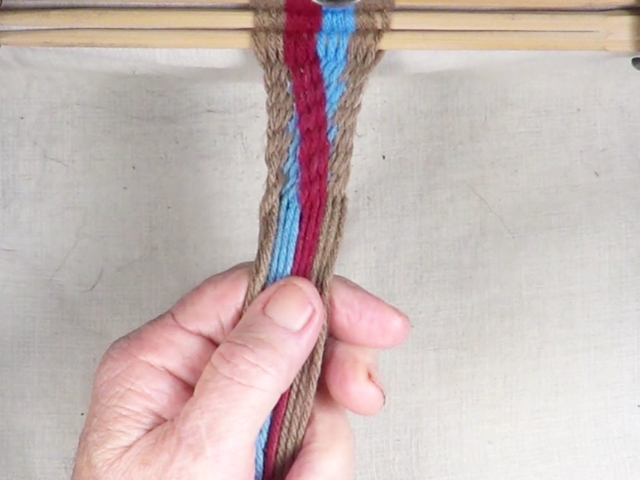
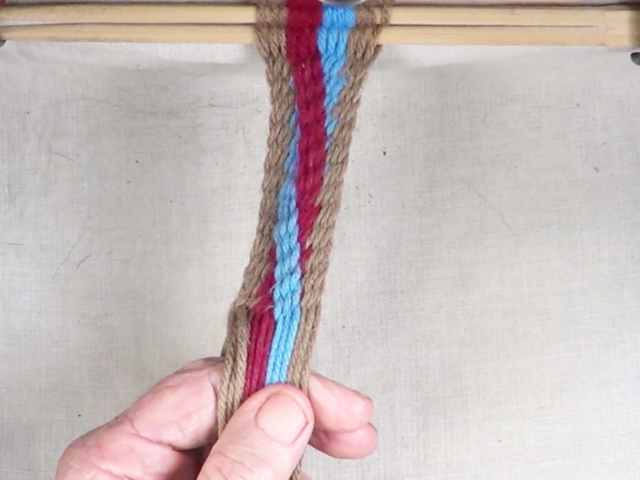
Start on the right hand side of the workpiece, weave [Z] twist interlink fingerweaving until one strand of the right hand color band is unused. |
[figure-2]
[click here to see video]
|
| Next |
|
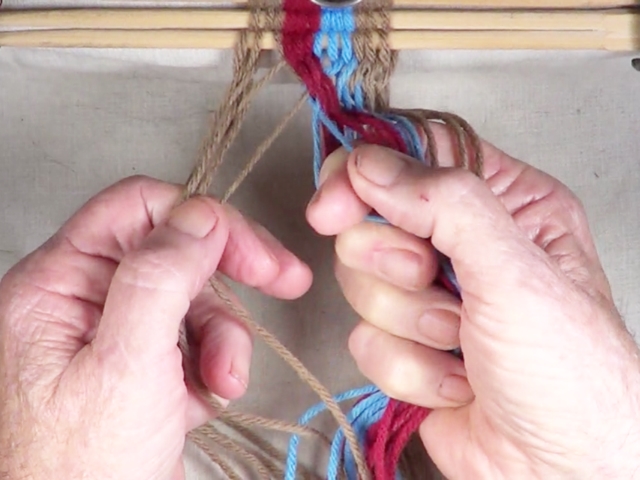
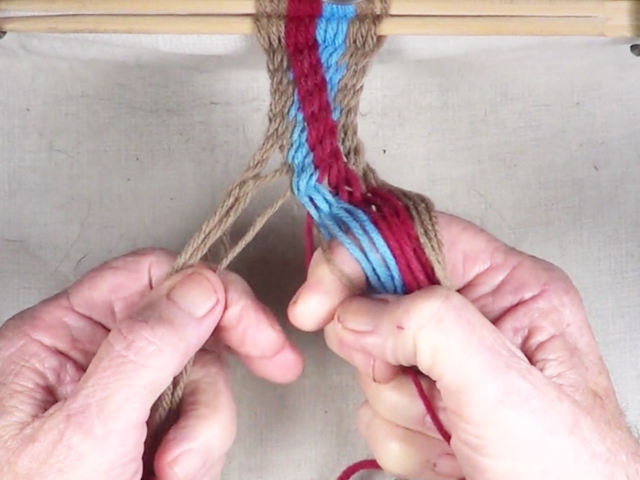
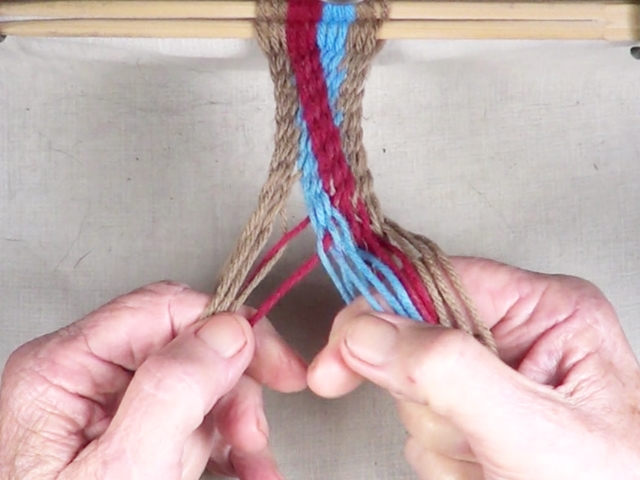
First Pass
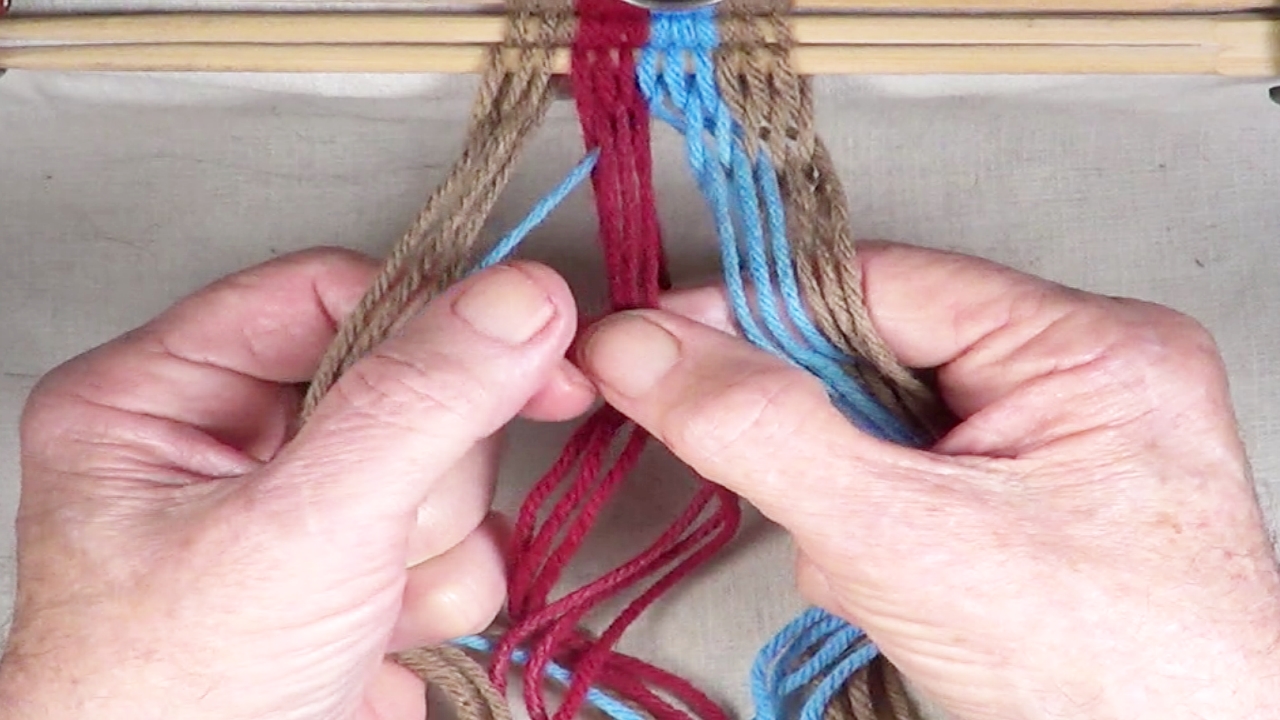
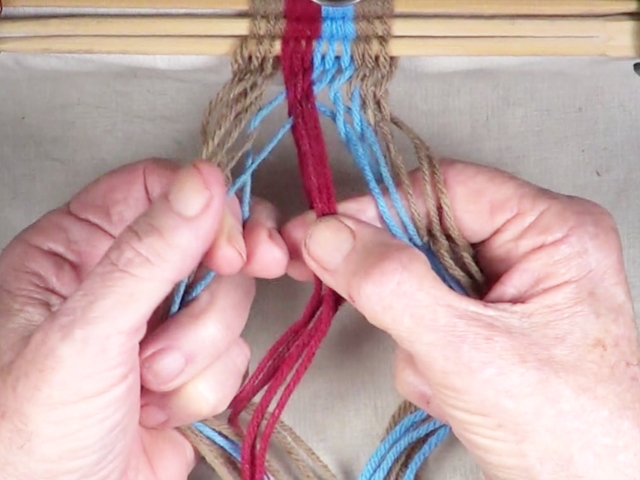
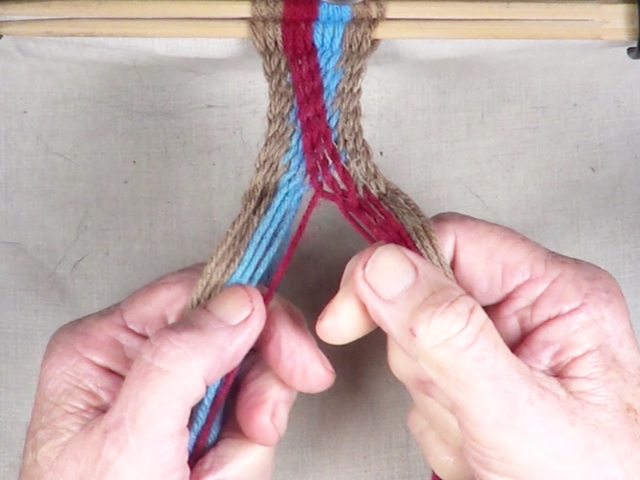
[NOTE] the left hand color band is used as the twining accent strands. Pass the unused right hand color strand through the shed of the twinning strands. |
[figure-3]
[click here to see video]
|
| Previous | Next |
|
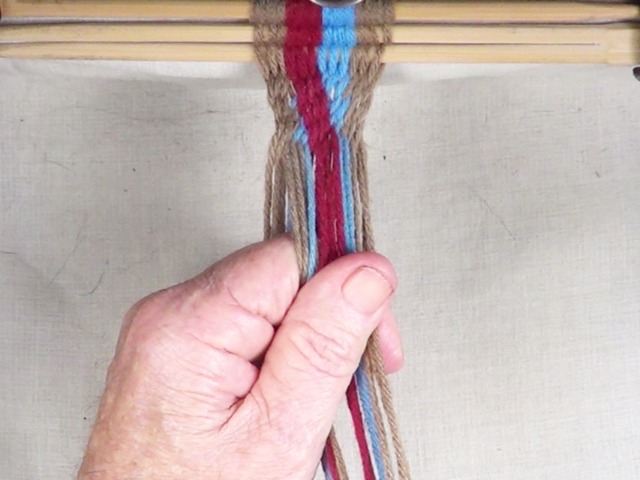
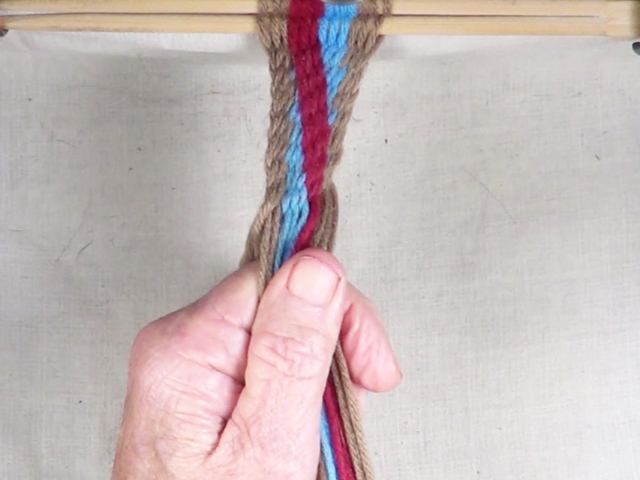
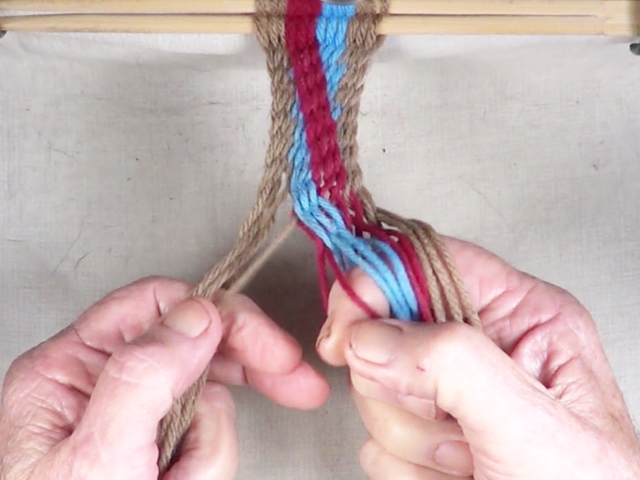
First Pass
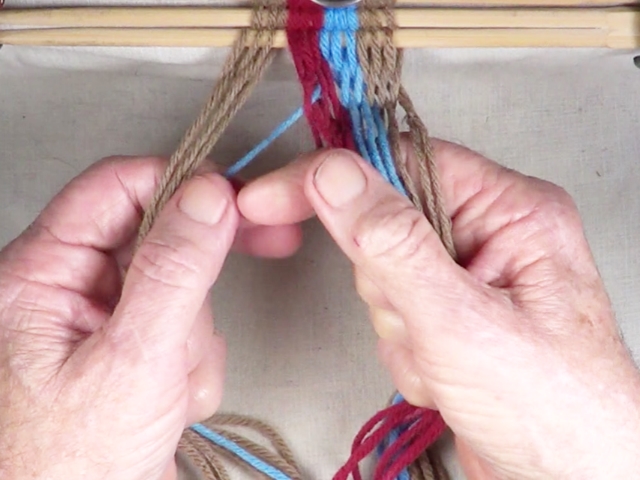
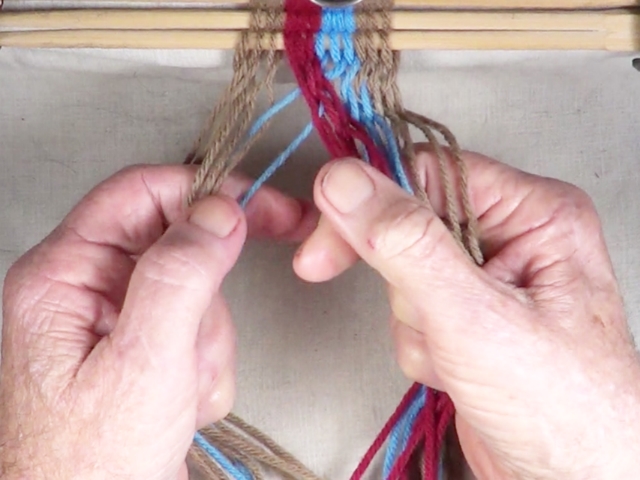
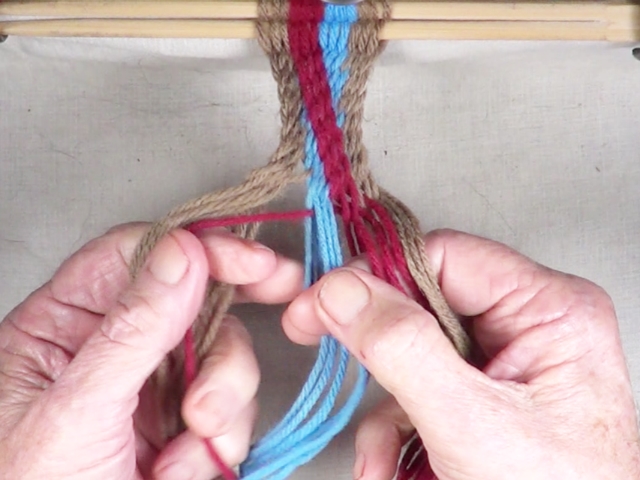
[Z] twist twine the the twining strands. |
[figure-4]
[click here to see video]
|
| Previous | Next |
|
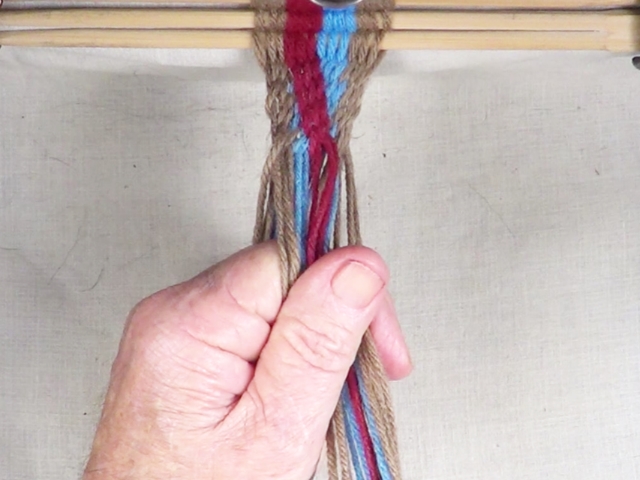
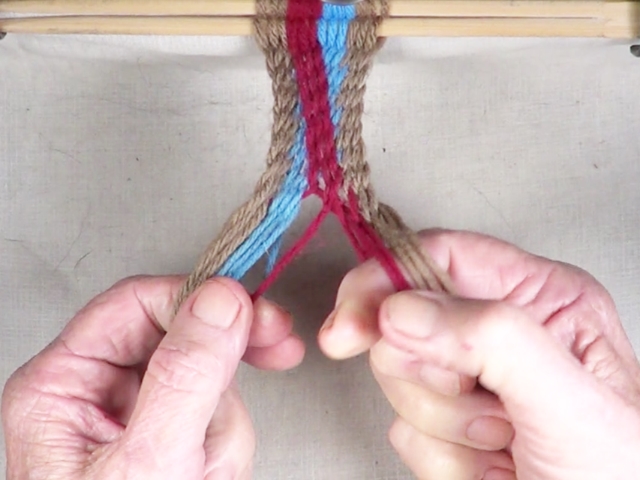
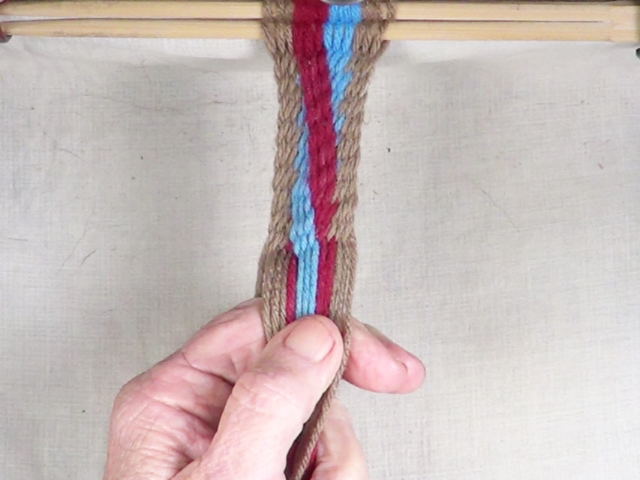
First Pass
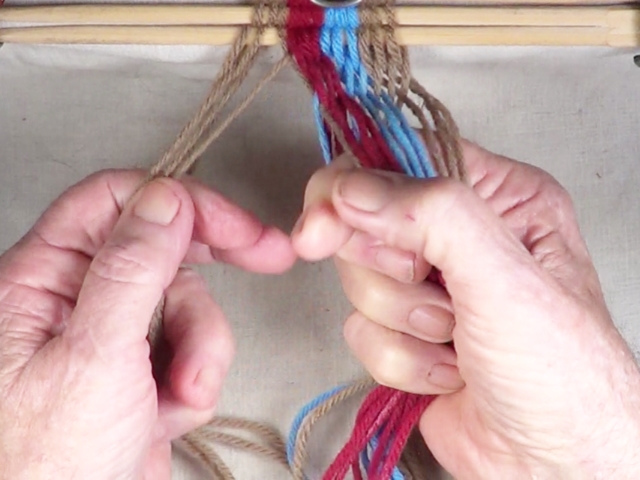
Finish the [Z] twist link. |
[figure-5]
[click here to see video]
|
| Previous | Next |
|
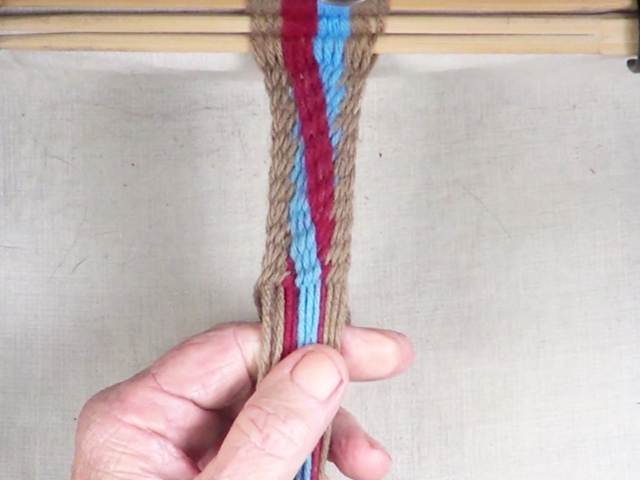
First Pass
Finish first pass of interlinked fingerweaving |
[figure-6]
[click here to see video]
|
| Previous | Next |
|
Second Pass
Start second pass of interlink weaving. Stop when there is one unused strand before the twining color strands. |
[figure-7]
[click here to see video]
|
| Previous | Next |
|
Second Pass
Pass the unused right hand color strand through the shed of the twinning strands. |
[figure-8]
[click here to see video]
|
| Previous | Next |
|
Second Pass
[Z] twist twine the the twining strands. |
[figure-9]
[click here to see video]
|
| Previous | Next |
|
Second Pass
Finish the [Z] twist link. |
[figure-10]
[click here to see video]
|
| Previous | Next |
|
Second Pass
. . Finish second pass interlinked fingerweaving. |
[figure-11]
[click here to see video]
|
| Previous | Next |
|
First Pass -- Second Section
Weave the first pass of the second section of the interlinked diagonal pattern. |
[figure-12]
[click here to see video]
|
| Previous | Next |
|
Second Pass -- Second Section
Weave the second pass of the second section of the interlinked diagonal pattern. |
[figure-13]
[click here to see video]
|
| Previous | Next |
|
First Pass -- Third Section
Weave the first pass of the third section of the interlinked diagonal pattern. |
[figure-14]
[click here to see video]
|
| Previous | Next |
|
Second Pass -- Third Section
Weave the second pass of the third section of the interlinked diagonal pattern. [OBSERVE] All the second color band strands have been moved to the right hand side. |
[figure-15]
[click here to see video]
|
| Previous | Next |
|
Part 2 Diagonal Pattern - First Pass - Section 1
[NOTE] The next row of weaving is a transition row. The color bands of the diagonal pattern are reversed. The twinning strands become interlink strands and the interlink strands become twinning strands.The border strands are still interlink strands. Start on the right hand side of the workpiece, weave [Z] twist interlink fingerweaving until one strand of the right hand colored band is unused. |
[figure-16]
[click here to see video]
|
| Previous | Next |
|
Part 2 Diagonal Pattern - First Pass - Section 1
Pass the unused right hand color strand through the shed of the twinning strands. |
[figure-17]
[click here to see video]
|
| Previous | Next |
|
Part 2 Diagonal Pattern - First Pass - Section 1
[Z] twist twine the the twining strands. |
[figure-18]
[click here to see video]
|
| Previous | Next |
|
Part 2 Diagonal Pattern - First Pass - Section 1
Finish the [Z] twist link. |
[figure-19]
[click here to see video]
|
| Previous | Next |
|
Part 2 Diagonal Pattern - Second Pass - Section 1
Finish first pass interlinked fingerweaving. |
[figure-20]
[click here to see video]
|
| Previous | Next |
|
Part 2 Diagonal Pattern - Second Pass - Section 1
Start second pass of interlink weaving. Stop when there is one unused strand before the twining color strands. |
[figure-21]
[click here to see video]
|
| Previous | Next |
|
Part 2 Diagonal Pattern - Second Pass - Section 1
Pass the unused right hand color strand through the shed of the twinning strands. |
[figure-22]
[click here to see video]

|
| Previous | Next |
|
Part 2 Diagonal Pattern - Second Pass - Section 1
[Z] twist twine the the twining strands. |
[figure-23]
[click here to see video]
|
| Previous | Next |
|
Part 2 Diagonal Pattern - Second Pass - Section 1
Finish the [Z] twist link. |
[figure-24]
[click here to see video]
|
| Previous | Next |
|
Part 2 Diagonal Pattern - Second Pass - Section 1
Finish second pass interlinked fingerweaving |
[figure-25]
[click here to see video]

|
| Previous | Next |
|
Part 2 Diagonal Pattern - First Pass - Section 2
Weave the first pass of the second section of the interlinked diagonal pattern. |
[figure-26]
[click here to see video]
|
| Previous | Next |
|
Part 2 Diagonal Pattern - Second Pass - Section 2
Weave the second pass of the second section of the interlinked diagonal pattern. |
[figure-27]
[click here to see video]
|
| Previous | Next |
|
Part 2 Diagonal Pattern - First Pass - Section 3
Weave the first pass of the third section of the interlinked diagonal pattern. |
[figure-28]
[click here to see video]
|
| Previous | Next |
|
Part 2 Diagonal Pattern - Second Pass - Section 2
Weave the second pass of the third section of the interlinked diagonal pattern. [OBSERVE] The color band strands have been returned to the original configuration. Continue adding additional passes of interlinked fingerwewaving until the workpiece has reached the desired length. |
[figure-29]
[click here to see video]
|
| Previous | Top of page |