|
|
|
(Worked right to left.) (The even numbered lightning color warp strands are in the top layer of the shed.) |
|
|
Introduction to {Part 4}
The even numbered lightning color warp strands are in the top layer of the shed. |
[figure-57]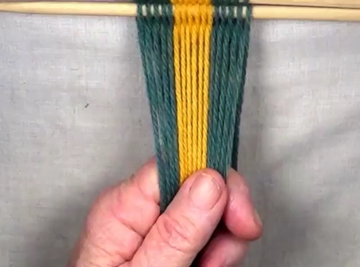
|
| Top of page | Next: figure 58 |
|
Row 1:
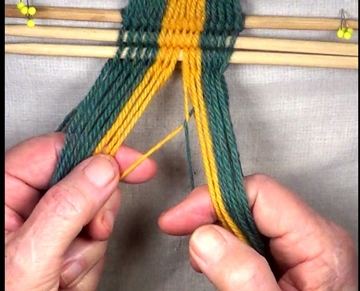
The first background color warp strand on the left hand side becomes the [part 1] weft strand.
Interlock the [part 1] weft strand and the sixth lightning color warp strand. [OBSERVE] The [part 1]weft strand is folded up over the sixth lightning color warp strand. The sixth lightning color warp strand becomes the [part 2] weft strand. Secure the [part 2] weft strand by placing the [part 1] weft strand under the index finger of the right hand. |
[figure-58][click here to see video]
|
| Previous: figure 57 | Next: figure 59 |
|
Row 1:
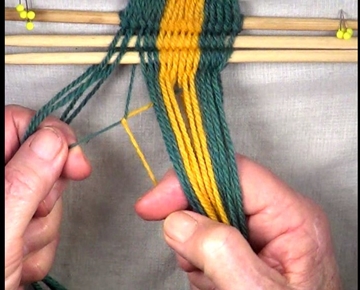
Pass the [part 2] weft strand through the [part 2] shed.
Interlock the [part 2] weft strand and the sixth background color warp strand. [OBSERVE] The [part 2] weft strand is folded up over the sixth background color warp strand. The sixth lightning color warp strand becomes the [part 3] weft strand. The [part 3] weft strand is secured by placing the [part 2] weft strand under the index finger of the right hand. |
[figure-59][click here to see video]
|
| Previous: figure 58 | Next: figure 60 |
|
Row 1:
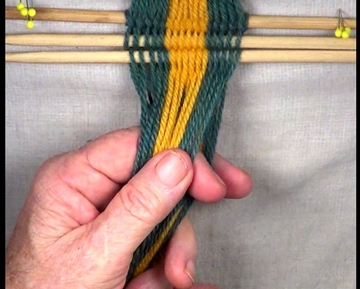
Pass the [part 3] weft strand through the [part 3] shed.
Secure the [part 3] weft strand by moving the last warp strand to the bottom layer of the shed. Then transfer the [part 3] shed to the index figer of the left hand. |
[figure-60][click here to see video]
|
| Previous: figure 59 | Next: figure 61 |
|
Row 1:
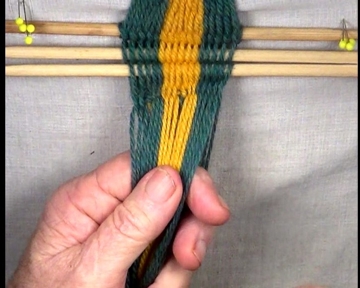
Reverse the shed and set the weave.
Set the weave. Pull the shed layers in opposite directions. Check to make sure that all warp strands are snug and even. |
[figure-61][click here to see video]
|
| Previous: figure 60 | Next: figure 62 |
|
Row 2:
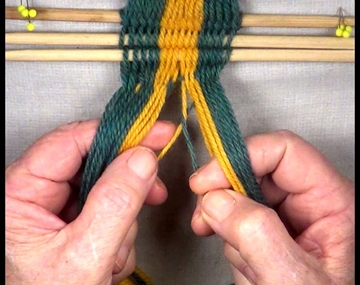
Pass the Row 2 [part 1] weft strand through the Row 2 [part 1] shed.
Pass the Row 2 [part 1] weft strand through the Row 2 [part 1] shed.
Interlock the [part 1] weft strand and the sixth lightning color warp strand. [OBSERVE] The [part 1] strand is folded up over the sixth lightning color warp strand. The sixth lightning color warp strand becomes the [part 2] weft strand. Secured the [part 2] weft strand by placing the [part 1] weft strand under the index finger of the right hand. |
[figure-62][click here to see video]
|
| Previous: figure 61 | Next: figure 63 |
|
Row 2:
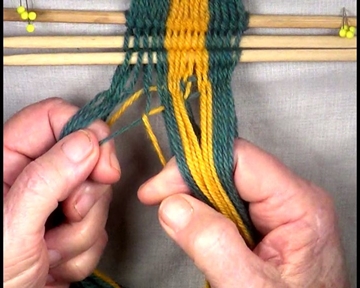
Pass the Row 2 [part 2] weft strand through the Row 2 [part 2] shed.
Interlock the [part 2] weft strand and the fifth background color warp strand. [OBSERVE] The second part of the weft strand is folded up over the fifth background color warp strand. The fifth background color warp strand becomes the third part of the weft strand and it is secured by placing the second part of the weft strand in the bottom layer of the shed. |
[figure-63][click here to see video]
|
| Previous: figure 62 | Next: figure 64 |
|
Row 2:
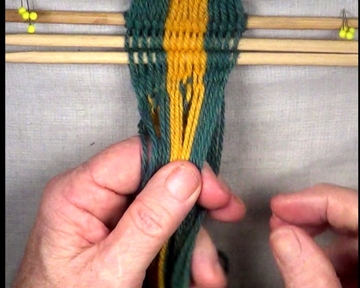
Pass the Row 2 [part 3] weft strand through the Row 2 [part 3] shed.
Secure the [part 3] weft strand by moving the last warp strand to the bottom layer of the shed. Then transfer the Row 2 [part 3] shed to the index figer of the left hand. |
[figure-64][click here to see video]
|
| Previous: figure 63 | Next: figure 65 |
|
Row 2:
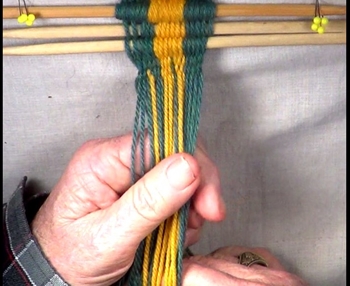
Reverse the Row 2 shed and set the weave. As each warp strand is transfered to the left hand index finger, the warp strand is moved to the opposite shed layer. Set the weave. Pull the shed layers in opposite directions. Check to make sure that all warp strands are snug and even. |
[figure-65][click here to see video]
|
| Previous: figure 64 | Next: figure 66 |
|
Row 3:
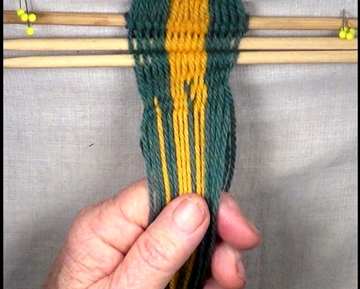
Follow the procedure for weaving row 2.
|
[figure-62][figure-66][click here to see video]
|
| Previous: figure 65 | Next: figure 67 |
|
Row 4:
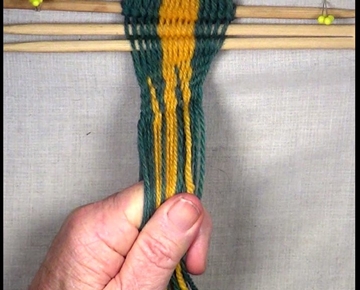
Follow the procedure for weaving row 2.
|
[figure-67][click here to see video]
|
| Previous: figure 66 | Next: figure 68 |
|
Row 5:
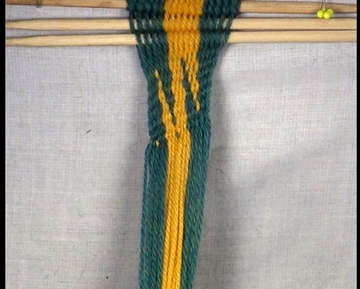
Follow the procedure for weaving row 2.
|
[figure-68][click here to see video]
|
| Previous: figure 67 | Next: figure 69 |
|
Row 6:
Follow the procedure for weaving row 2.
|
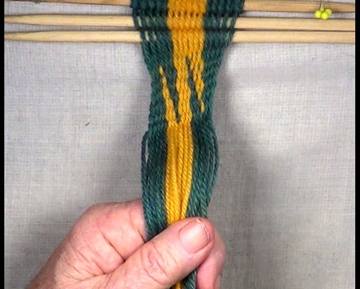
[figure-69][click here to see video]
|
| Previous: figure 68 | Next: figure 70 |
|
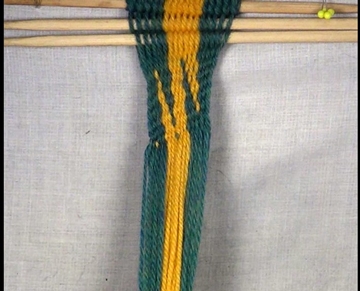
Start the next set of 6 rows of weaving by following the procedure for weaving row 1. Continue adding sets of 6 rows of weaving untill the work piece reaches the desired length. [OBSERVE] When the work pieces are turned over on a horizontal plain, the weaving patterns produced in parts 3 and 4 of this tutorial are the opposite sides if each other. However they are not mirror images. |
[figure-70][click here to see video]
|
| Previous: figure 69 | Next: Go to Top of page |
|
|