|
(Worked left to right.) ( Even numbered lightning warp strand in top layer of the shed.) |
|
Row 1: Select and pass [part 1] weft strand through [part 1] shed.
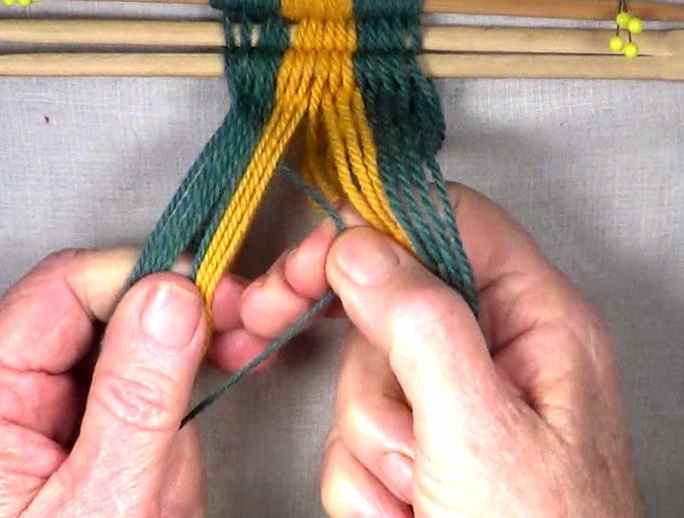
The first background color warp strand on the left hand side becomes the Row 1 [part 1] weft strand. Then pass the [part 1] weft strand through the shed to the the sixth lightning color warp strand. |
[figure-5][click here to see video]
|
Top of page | Next: figure 6 |
Row 1: Interlock the [part 1] weft strand and the 6th lightning color warp strand.
|
[figure-6] [click here to see video]
|
Previous: figure 5 | Next: figure 7 |
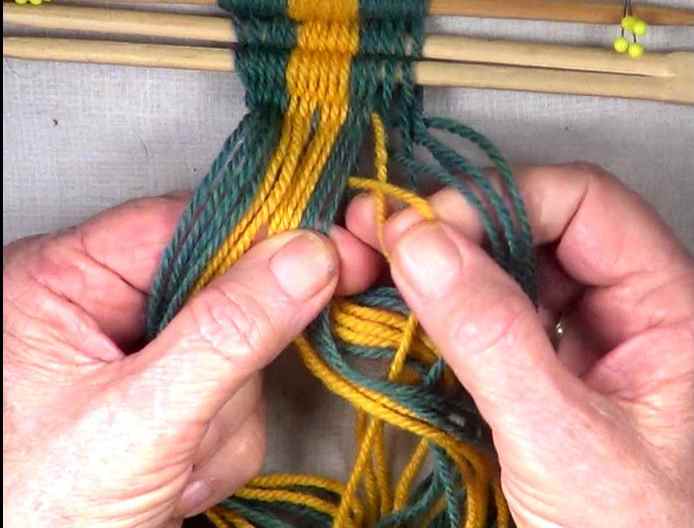
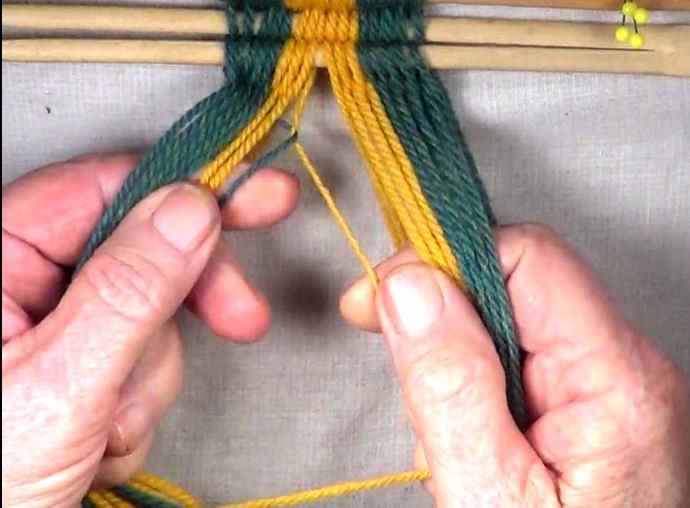
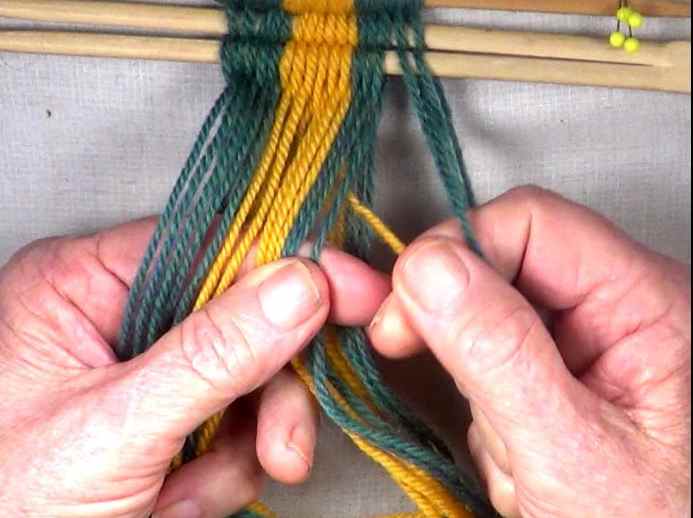
Row 1: Pass the [part 2] weft strand through the Row 1 [part 2] shed.
Then pass the [part 2] weft strand through the Row 1 [part 2] shed to the sixth background color warp strand. |
[figure-7] [click here to see video]
|
Previous: figure 6 | Next: figure 8 |
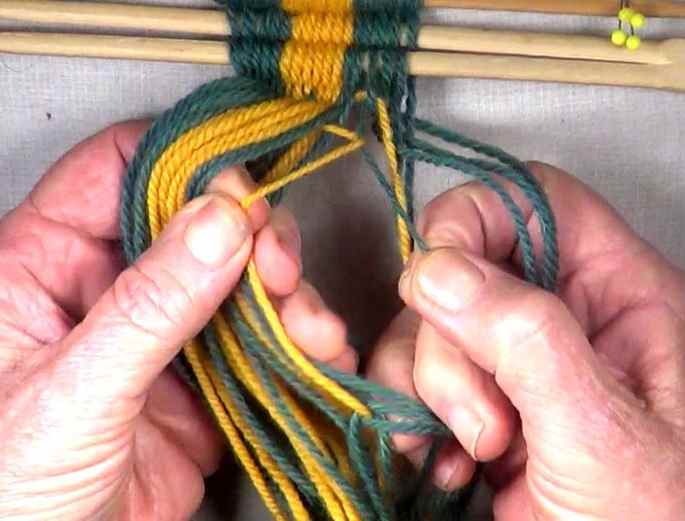
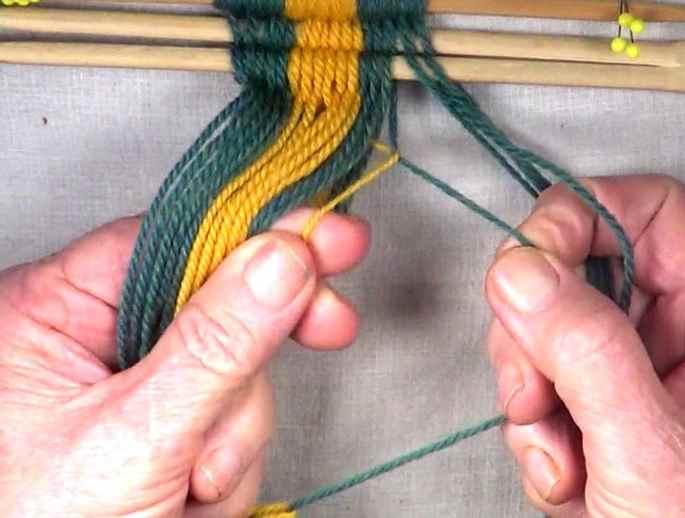
Row 1: Interlock the [part 2] weft strand and the sixth background color warp strand.
|
[figure-8] [click here to see video]
|
Previous: figure 7 | Next: figure 9 |
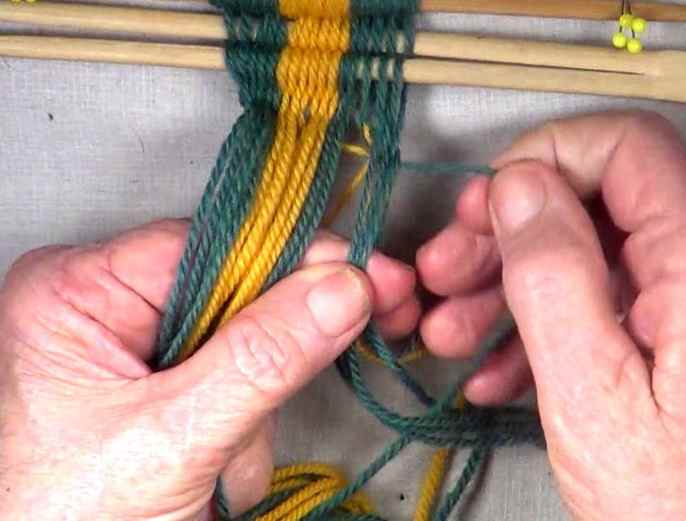
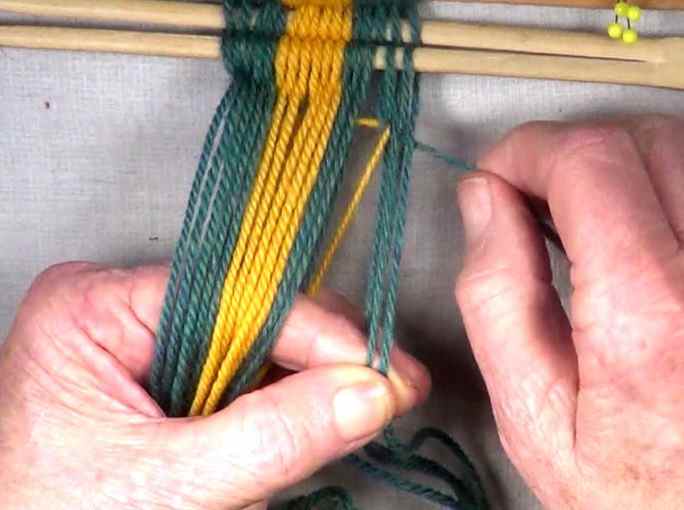
Row 1: Pass the [part 3] weft strand through the Row 1 [part 3] shed.
Then pass the [part 3] weft strand through the Row 1 [part 3] shed to the right hand edge of the work piece. |
[figure-9] [click here to see video]
|
Previous: figure 8 | Next: figure 10 |
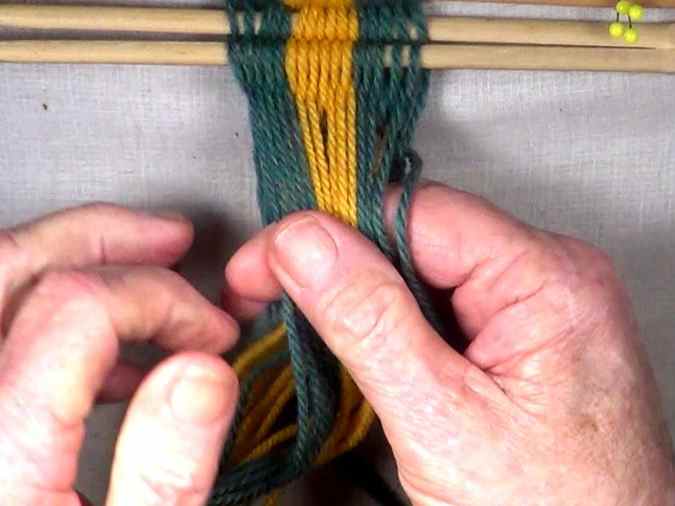
Row 1: Secure the [part 3] weft strand.
Then transfer the Row 1 shed to the index figer of the right hand. |
[figure-10] [click here to see video]
|
Previous: figure 9 | Next: figure 11 |
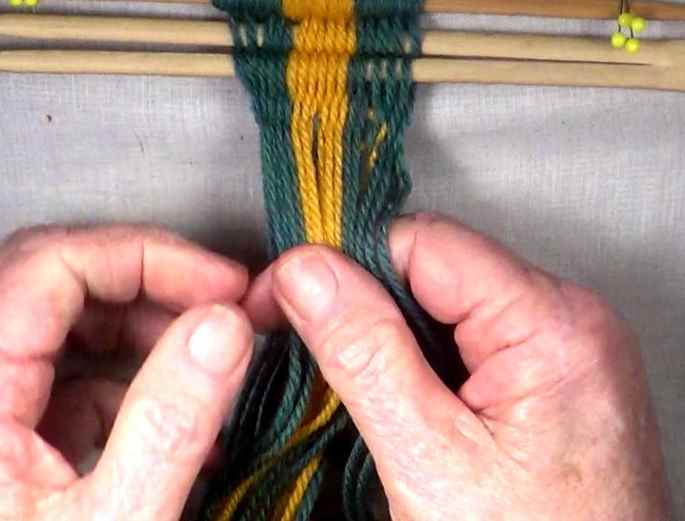
Row 1: Reverse the Row 1 shed and set the weave.
|
[figure-11] [click here to see video]
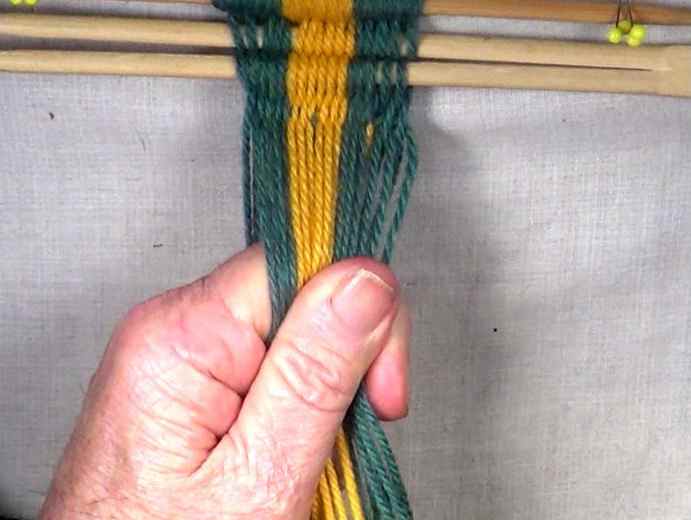
|
Previous: figure 10 | Next: figure 12 |
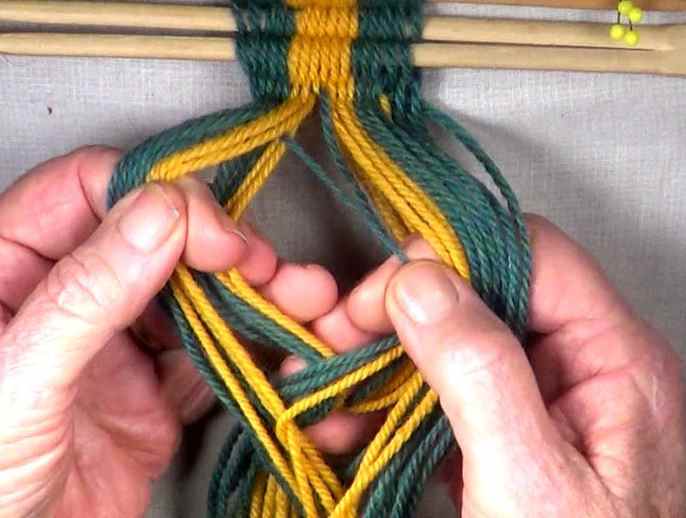
Row 2:
Pass the Row 2 [part 1]weft strand through the Row 2 [part 1] shed.
Pass the [part 1] weft strand through the Row 2 [part 1] shed to the warpstrand that is next to the interlocked strands of the previous row (the fifth lightning color warp strand). |
[[figure-12] [click here to see video]
|
Previous: figure 11 | Next: figure 13 |
Row 2:
Interlock the [part 1] weft strand and the fifth lightning color warp strand.
The fifth lightning color warp strand becomes the [part 2] weft strand. |
[figure-13] [click here to see video]
|
Previous: figure 12 | Next: figure 14 |
Row 2:
Pass the [part 2] weft strand through the [part 2] shed.
Then pass the [part 2] weft strand through the [part 2] shed to the warp strand that is next to the interlocked strands of the previous row (the fifth background color warp strand). [NOTE] The Row 2 [part 1] weft strand becomes a Row 2 [part 2] warp strand. |
[figure-14] [click here to see video]
|
Previous: figure 13 | Next: figure 15 |
Row 2
Interlock the [part 2] weft strand and the fifth background color warp strand.
|
[figure-15] [click here to see video]
|
Previous: figure 14 | Next: figure 16 |
Row 2:
Pass the [part 3] weft strand through the [part 3] shed.
Then pass the [part 3] weft strand through the [part 3] shed to the right hand edge of the work piece. |
[figure-16] [click here to see video]
|
Previous: figure 15 | Next: figure 17 |
Row 2:
Secure the [part 3] weft strand.
Then transfer the Row 2: [part 3] shed to the index finger of the right hand. |
[figure-17] [click here to see video]
|
Previous: figure 16 | Next: figure 18 |
Row 2
Reverse the shed and set the weave. [NOTE] Make sure that the warp strands follow there over/under configuration and that they remain parallel to each other. [NOTE] Also check that the weft strands are pulled snug, |
[figure-18] [click here to see video]
|
Previous: figure 17 | Next: figure 19 |
Row 3:
Follow the procedure for weaving Row 2.
|
[figure-19] [click here to see video]
|
Previous: figure 18 | Next: figure 20 |
Row 4
Follow the procedure for weaving row 2.
|
[figure-20] [click here to see video]
|
Previous: figure 19 | Next: figure 21 |
Row 5
Follow the procedure for weaving row 2.
|
[figure-21] [click here to see video]
|
Previous: figure 20 | Next: figure 22 |
Row 6
Follow the procedure for weaving row 2.
|
[figure-22] [click here to see video]
|
Previous: figure 21 | Next: figure 23 |
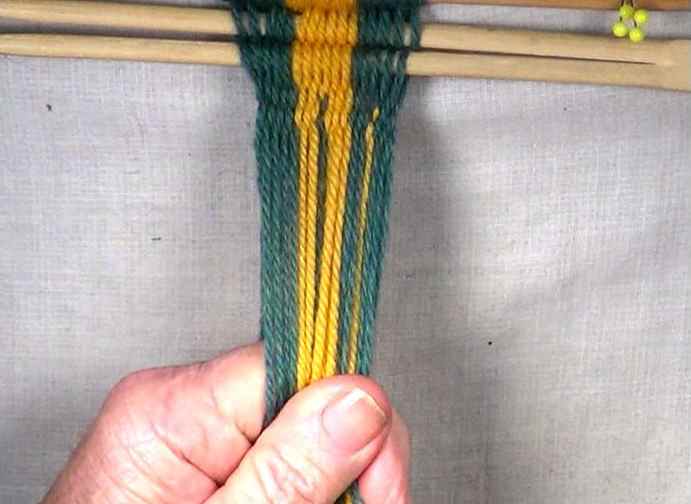
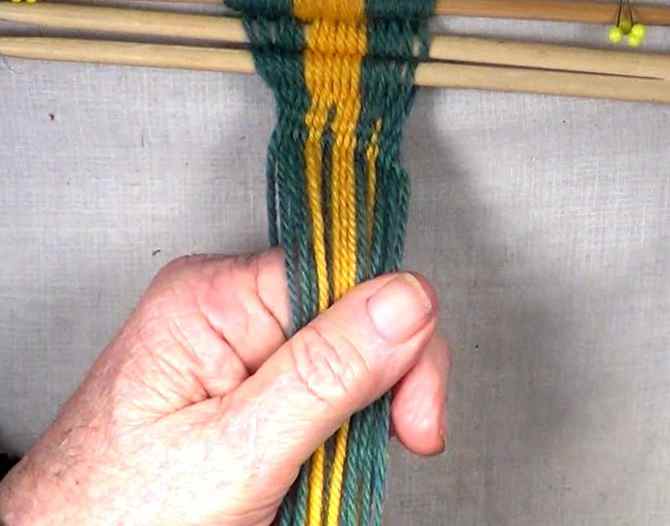
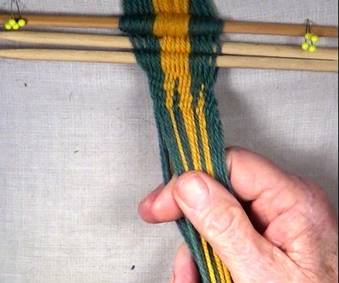
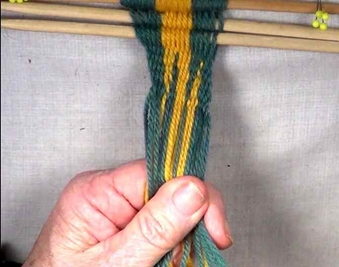
Start the next set of 6 rows of weaving by following the procedure for weaving row 1. Continue adding sets of 6 rows of weaving untill the work piece reaches the desired length. [OBSERVE] When the work pieces are turned over on a horizontal plain, the weaving patterns produced in parts 1 and 2 of this tutorial are the opposite sides if each other . However they are not mirror images. |
[figure-23] [click here to see video]
|
Previous: figure 22 | Next: Go to: top of page |
|