|
Each row of weaving results in the two layers of the shed exchanging places. The bottom layer becomes the top layer and the top layer becomes the bottom layer. Because the layers exchange places with each pass of weaving the start and end of each pass of the weave also alternates between two configurations.
|
|
|
Set up the shed according to the following notes:
[NOTE]In this example, the right hand side is [Z] twist and the left hand side is [S] twist.
[NOTE] The first strand on the right hand side is in the top layer of the shed.
[NOTE]The center two strands are in the same layer.
[NOTE]The two sides of the work piece are mirror images.
|
1=1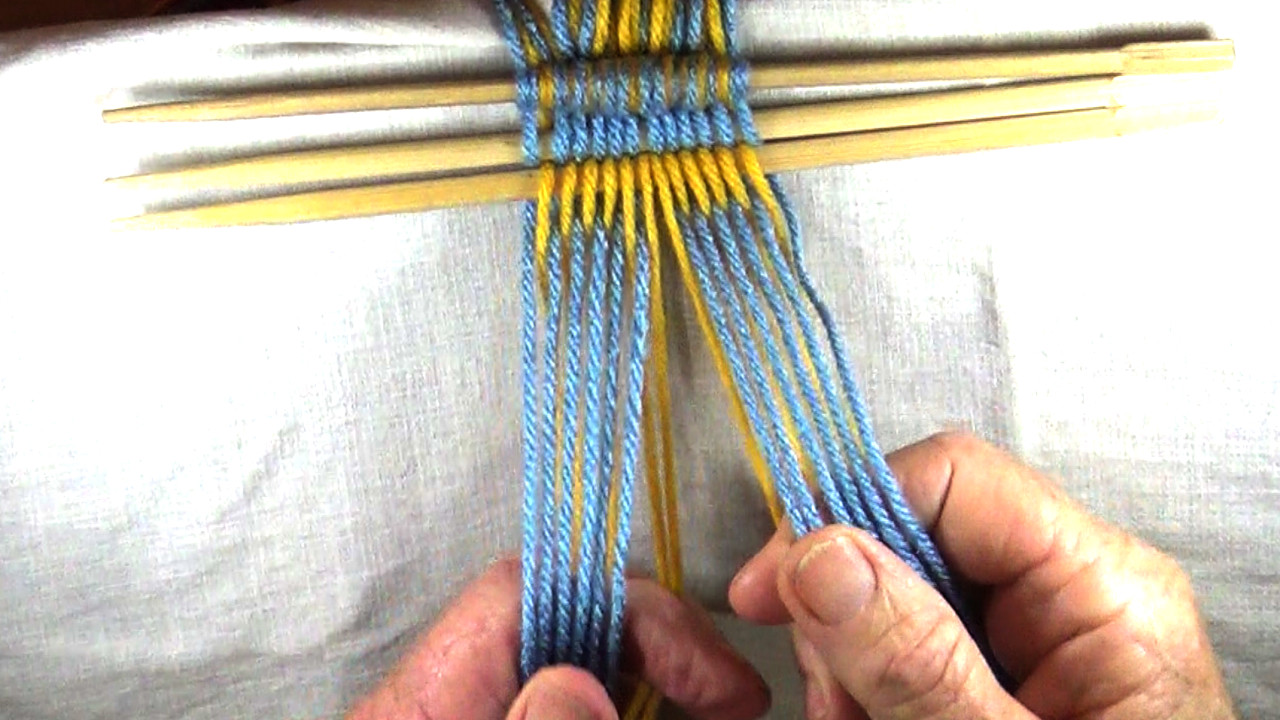
|
| Start weaving by picking up the shed so that the index finger of the left hand is between the two layers of the shed. |
1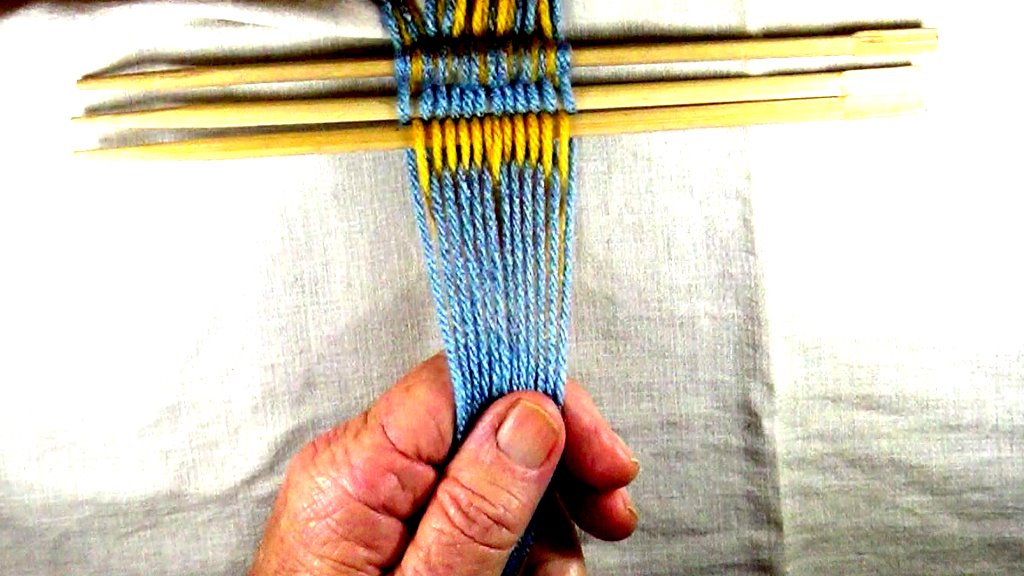
|
| Use the thumb and index finger of the right hand to pick up the first strand of the bottom layer. Notice that the strand from the bottom layer crosses under onley one top layer strand. This under one configuration will help identify wich row start is being used used. |
2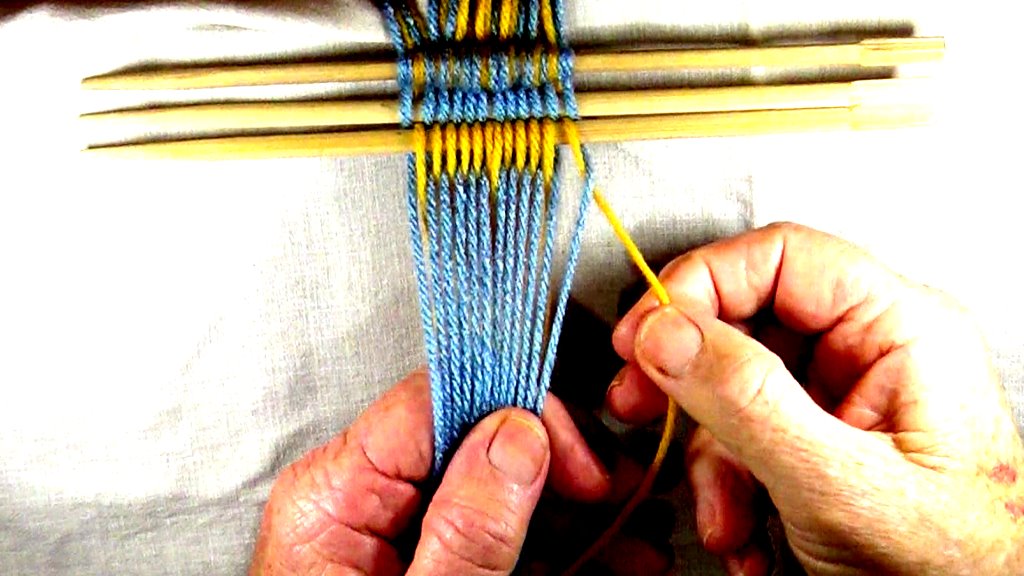
|
| Continue by using the thumb and index finger of the right hand to pick up the next strand of the bottom layer. Notice that this strand from the bottom layer crosses under two top layer strands. This under two configuration will be repeated as each aditional bottom layer strand of the [Z] twist side is picked up. |
3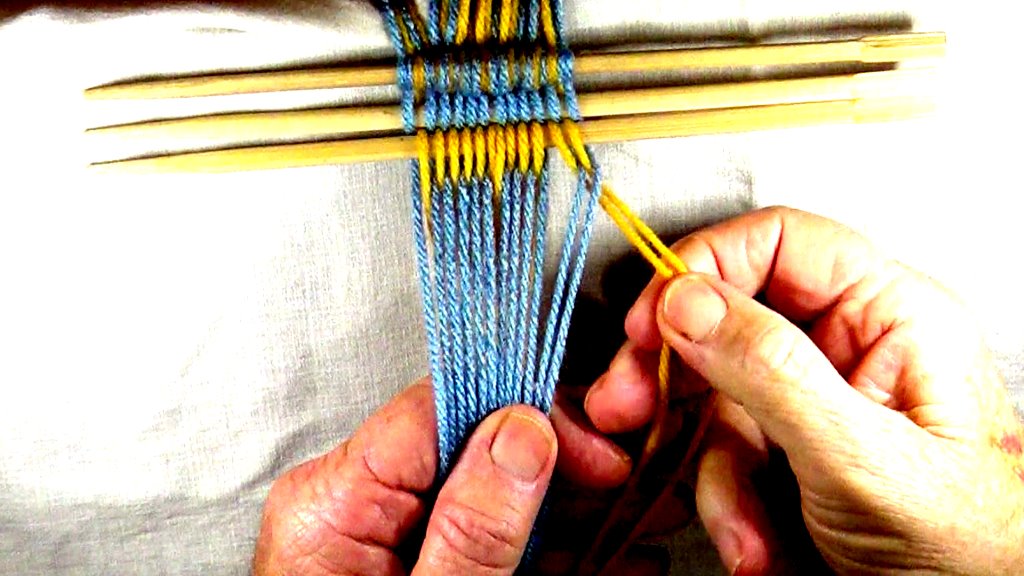
|
| Now, use the index finger and the secomd finger of the right hand to pick up the first strand of the top layer. |
4
|
|
Transfer the picked up strands to the right hand so that the two strands that were picked up from bottom layer are now in the top layer and the strand that was picked from the top layer is in the bottom layer.
The index finger of the right hand is now being used to maintain this part of the shed. |
5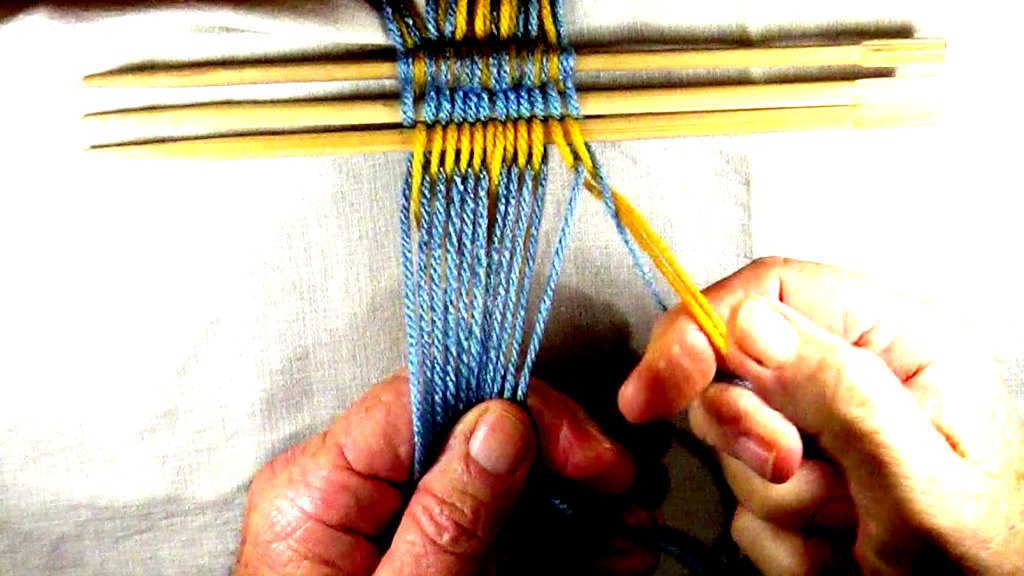
|
| Use the thumb and index finger of the right hand to pick up the next strand of the bottom layer. Notice that this strand from the bottom layer crosses under two top layer strands. |
6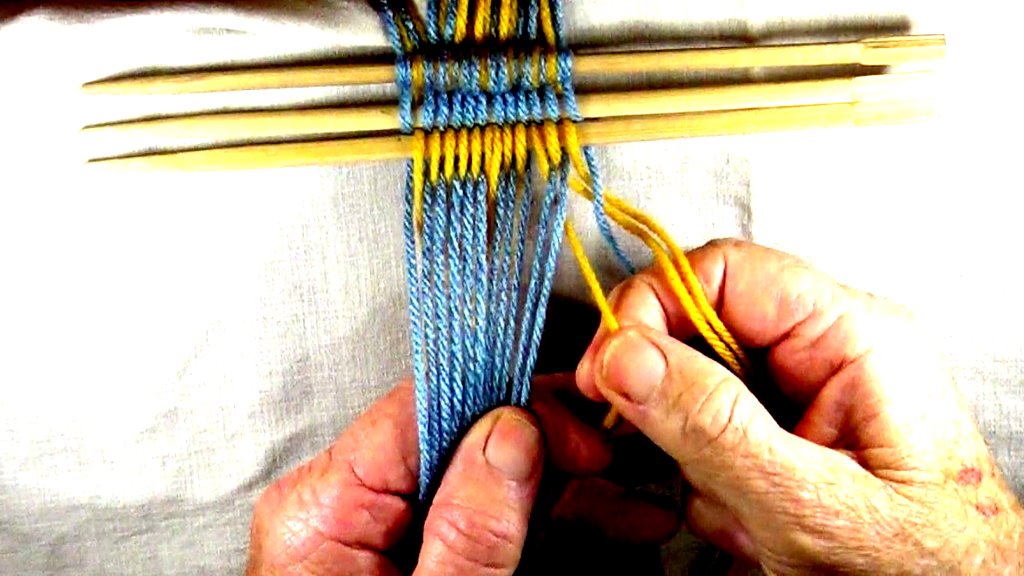
|
| Use the index finger and the second finger of the right hand to pick up the next strand of the top layer. |
7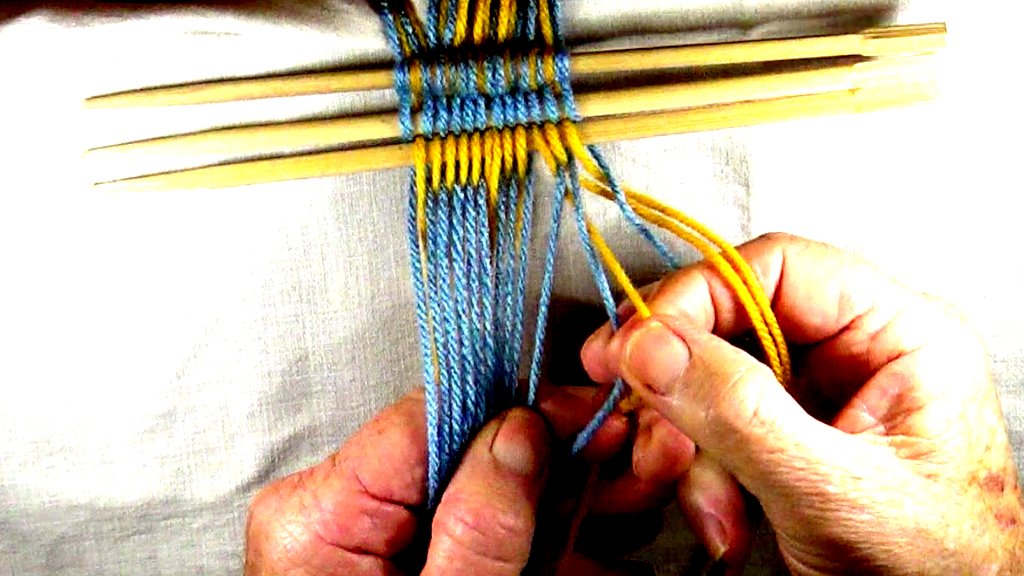
|
| Transfer the picked up strands to the right hand so that the strand that was picked up from the top layer is now in the bottom layer and the strand that was picked from the bottom layer is in the top layer. |
8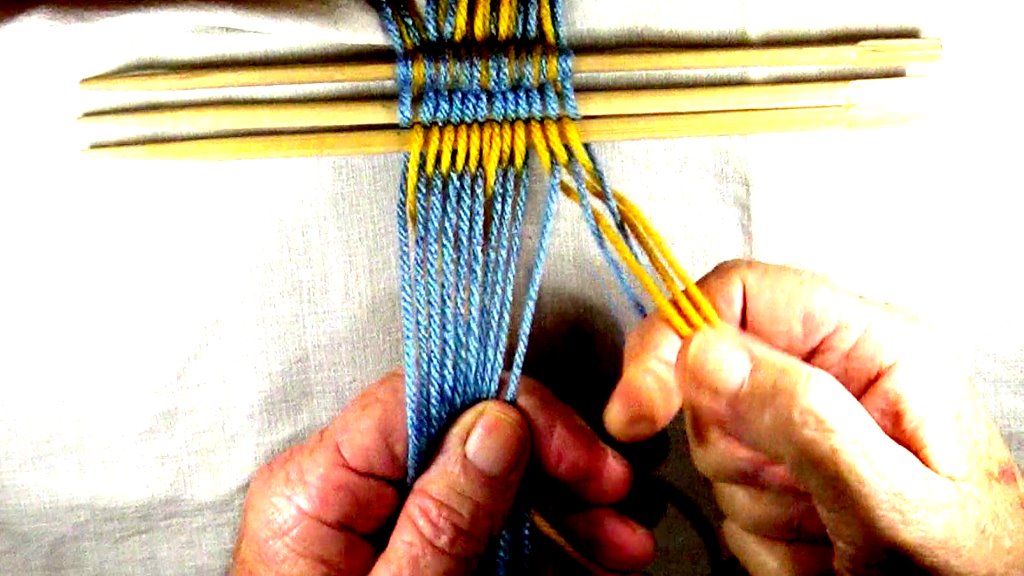
|
|
Contiue weaving in this manner until all the bottom layer strands of the [Z]twist side have been picked up and transfered to the right hand.
There will be one strand of the top layer [Z] twist side remaining. |
9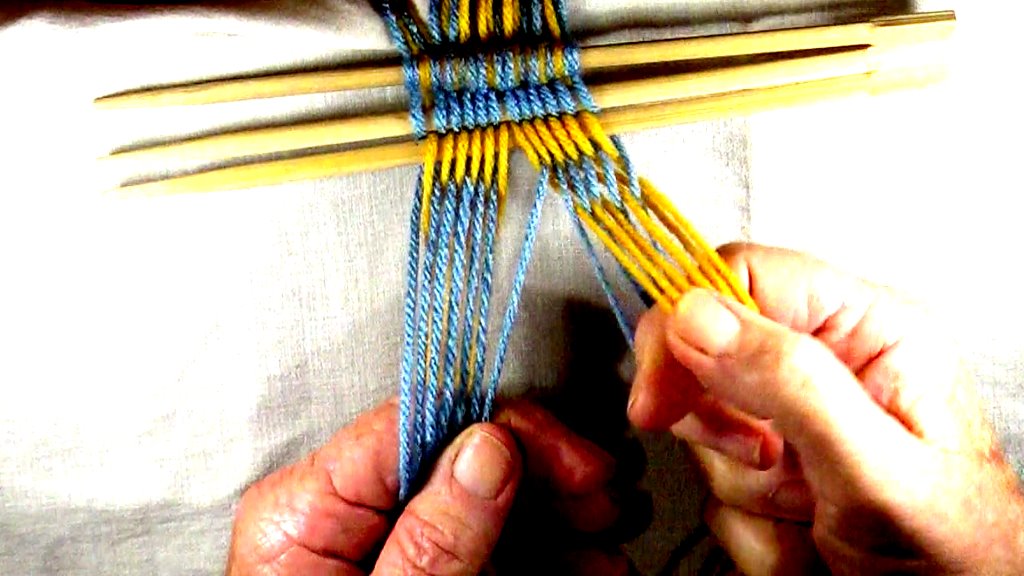
|
| Move the last top layer [Z] twist strand to the bottom layer in the left hand. |
10
|
| Use the index finger and the second finger of the right hand to pick up the first top strand of the [S] twist side. |
11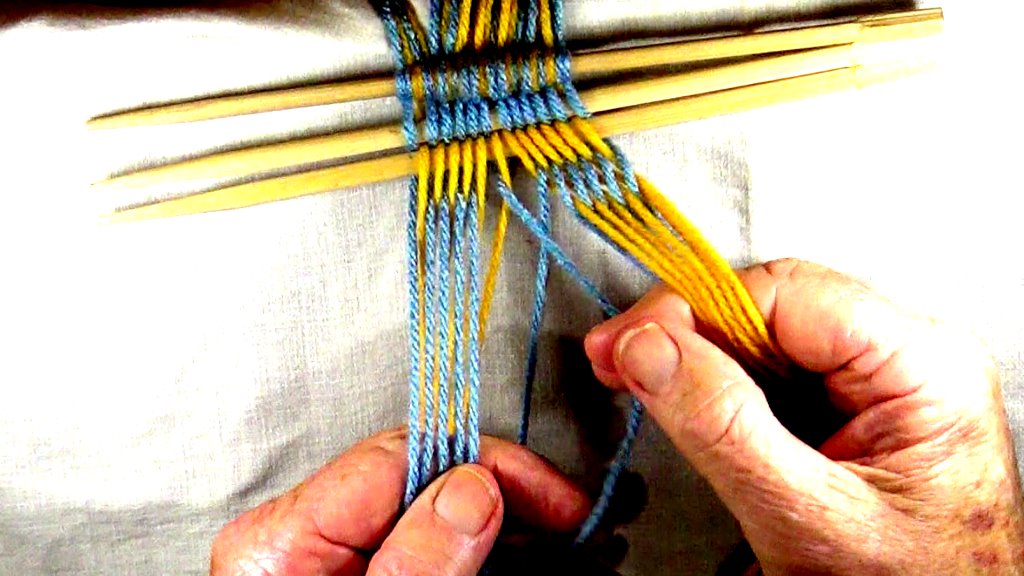
|
| Start the interlock of the two sides by moving the last [Z] twist top strand to the top layer of the shed in the right hand. |
12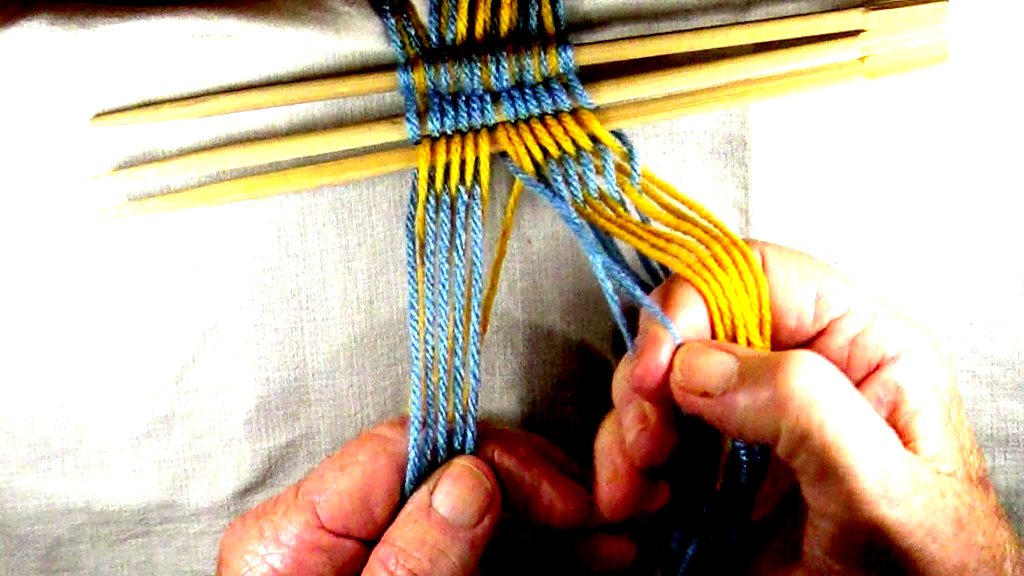
|
| Use the index finger and the second finger of the right hand to pick up the next top strand of the [S] twist side. |
13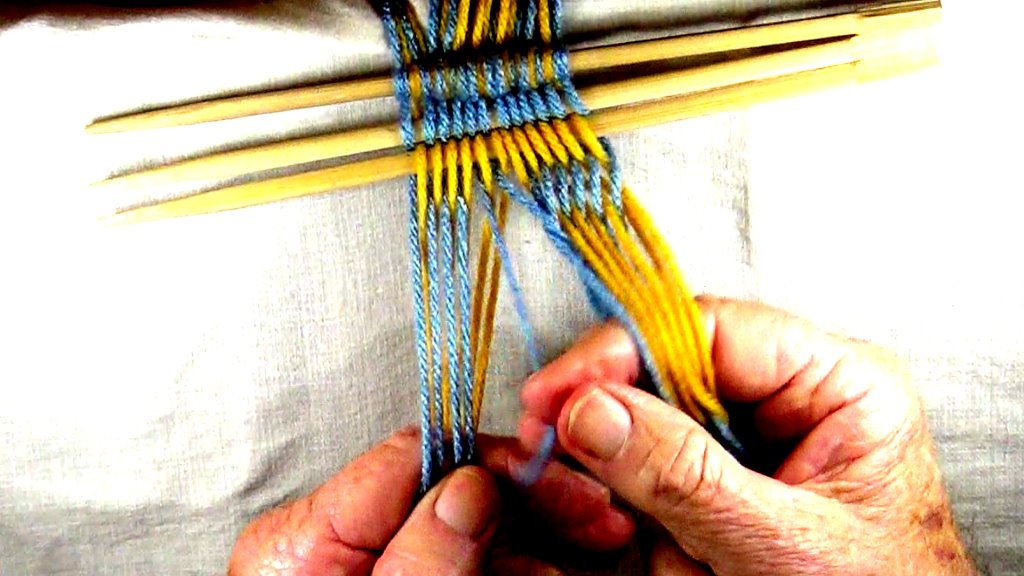
|
| Use the thunb and index finger of the right hand to pick up the first strand of the botton layer of the [S] twist side. |
14
|
| Transfer the picked up strands to the right hand so that the strand that was picked up from the top layer is now in the bottom layer and the strand that was picked from the bottom layer is in the top layer.The index finger of the right hand is now being used to maintain the shed in this part of the row of weaving. |
15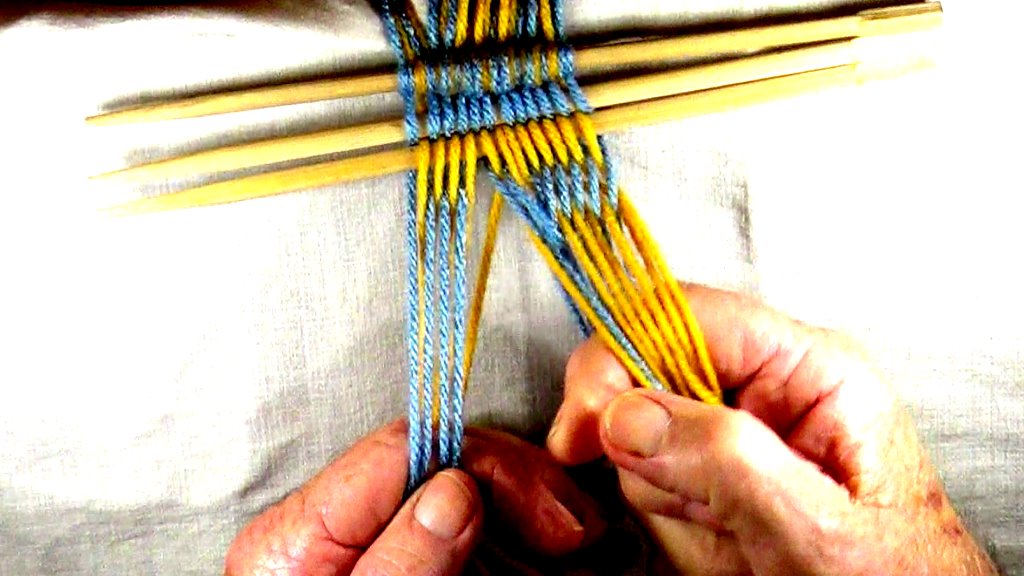
|
| Use the index finger and the second finger of the right hand to pick up the next top layer strand of the [S] twist side. Notice that this strand from the top layer crosses over two bottom layer strands. |
16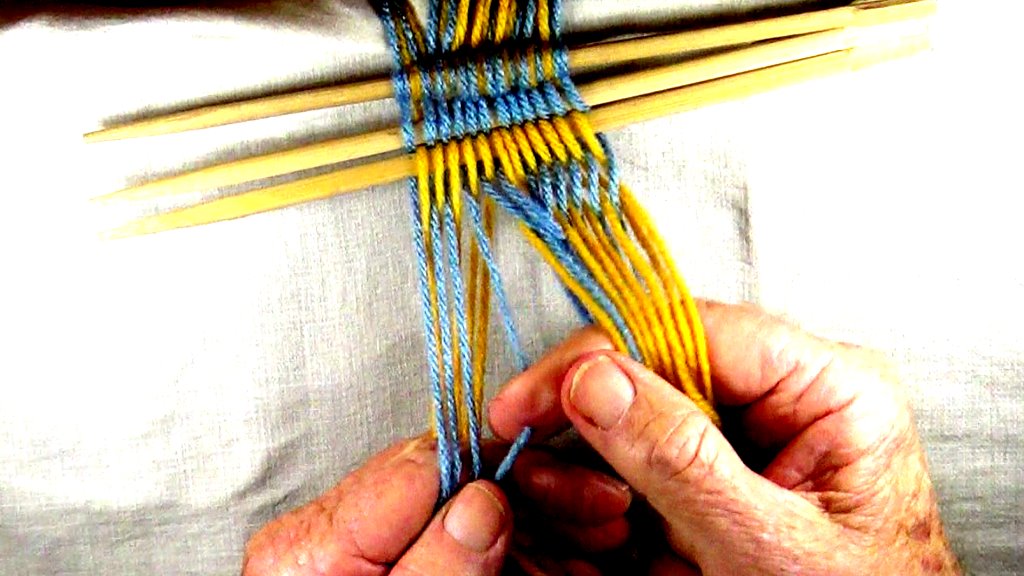
|
| Use the thumb and index finger of the right hand to pick up the next strand of the bottom layer of the [S] twist side. |
17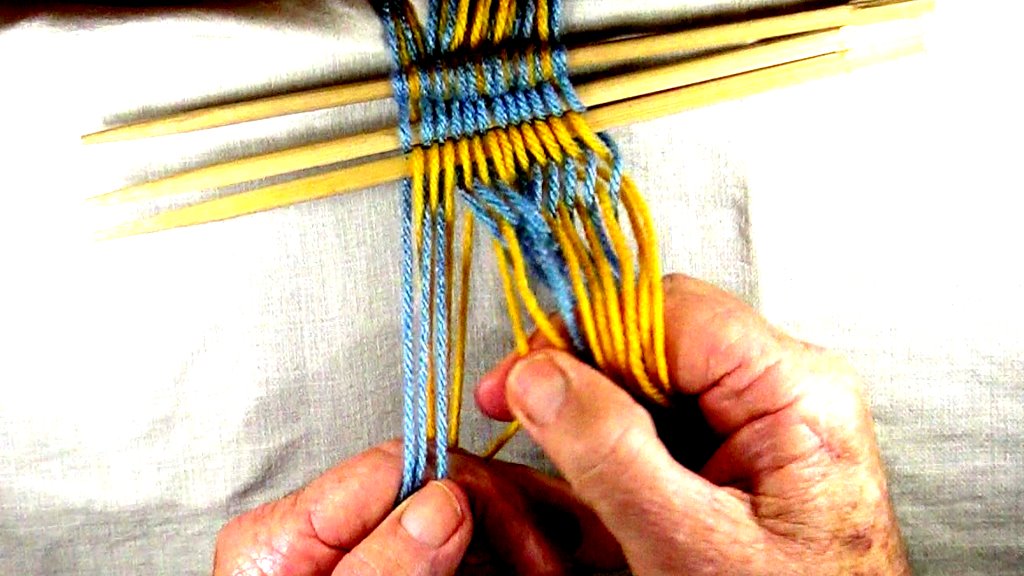
|
|
Transfer the picked up strands to the right hand, so that the strand that was picked up from the top layer is now in the bottom layer and the strand that was picked up from the bottom layer is in the top layer.
Contiue weaving in this manner until all the top layer strands have been picked up. |
18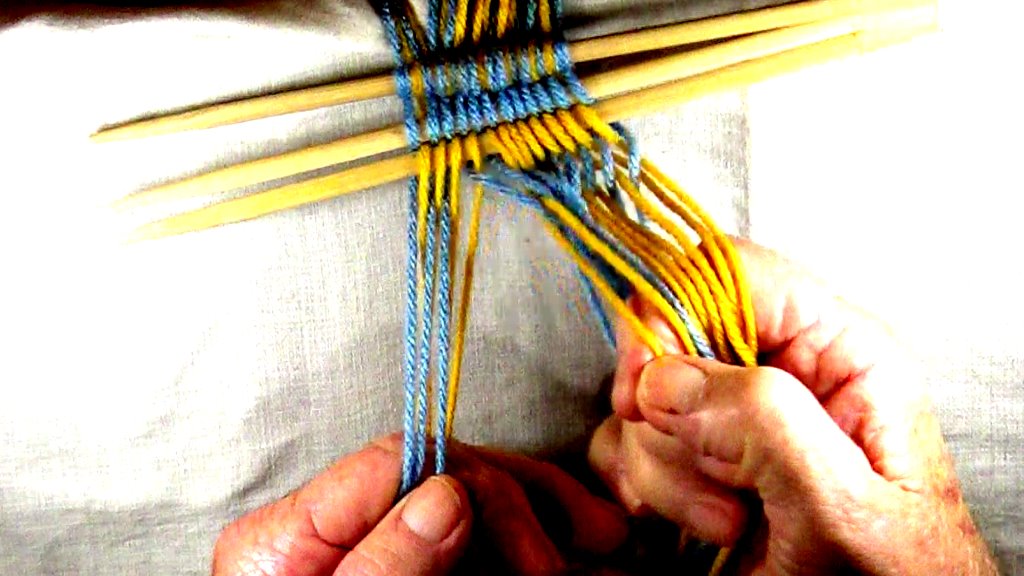
|
| At this point there is only one bottom layer strand remaining. |
19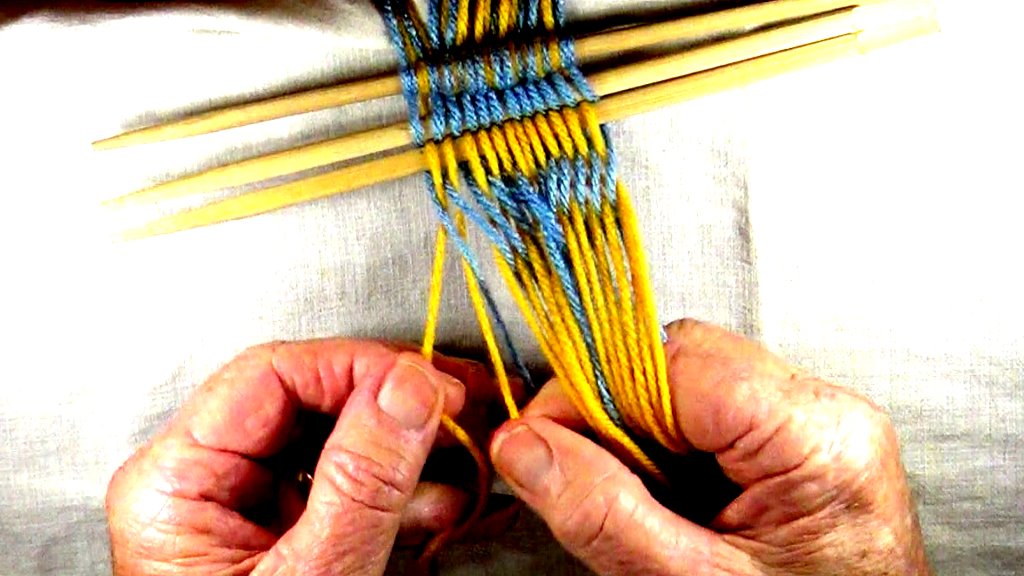
|
| Complete this row of weaving by transferimg the remaining bottom layer strand to the top layer. |
20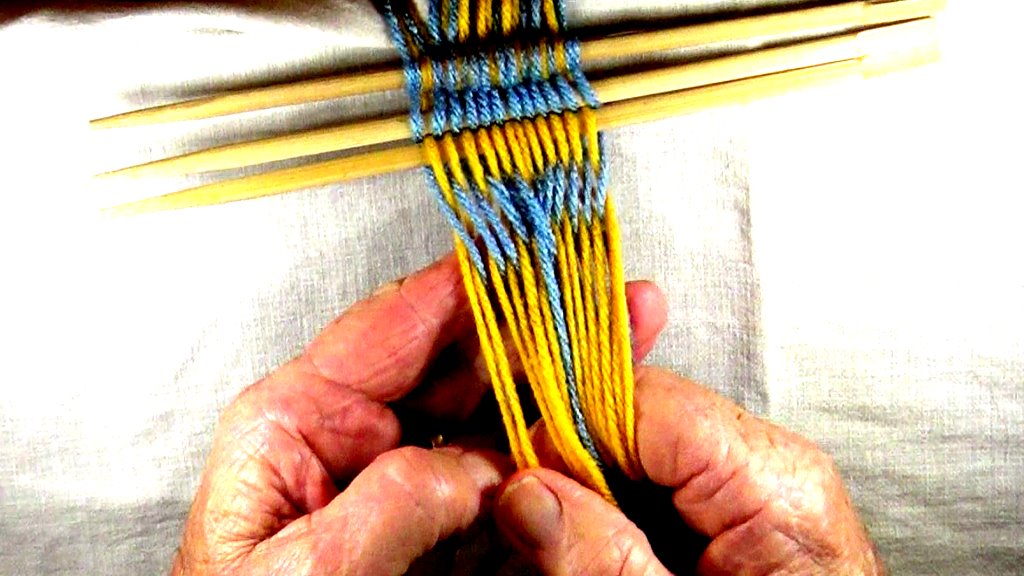
|
| Set the row of weaving by pulling the layers of the shed in opposite directions. |
21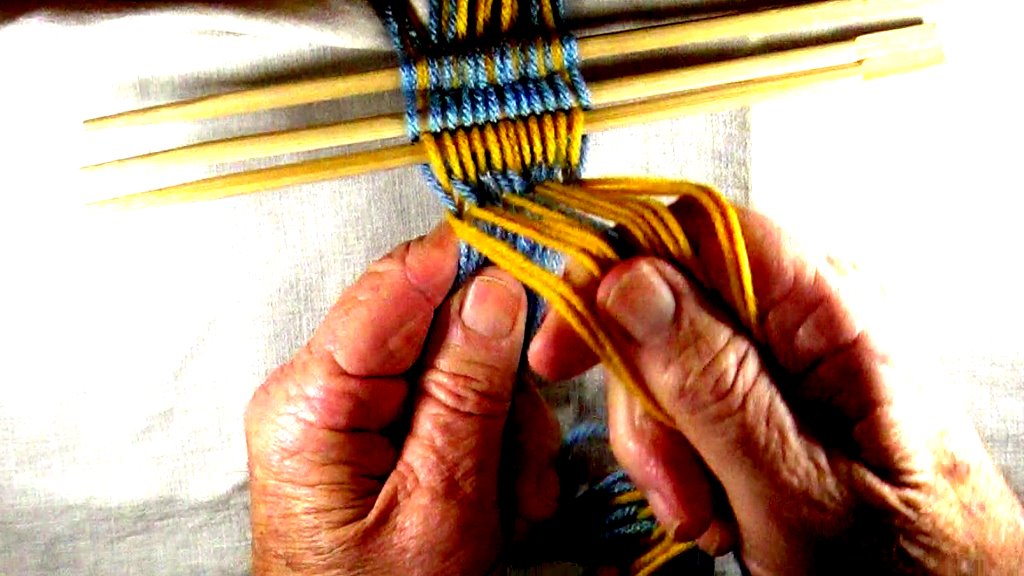
|
| Insert the index finger of the left hand between the layers of the shed. |
22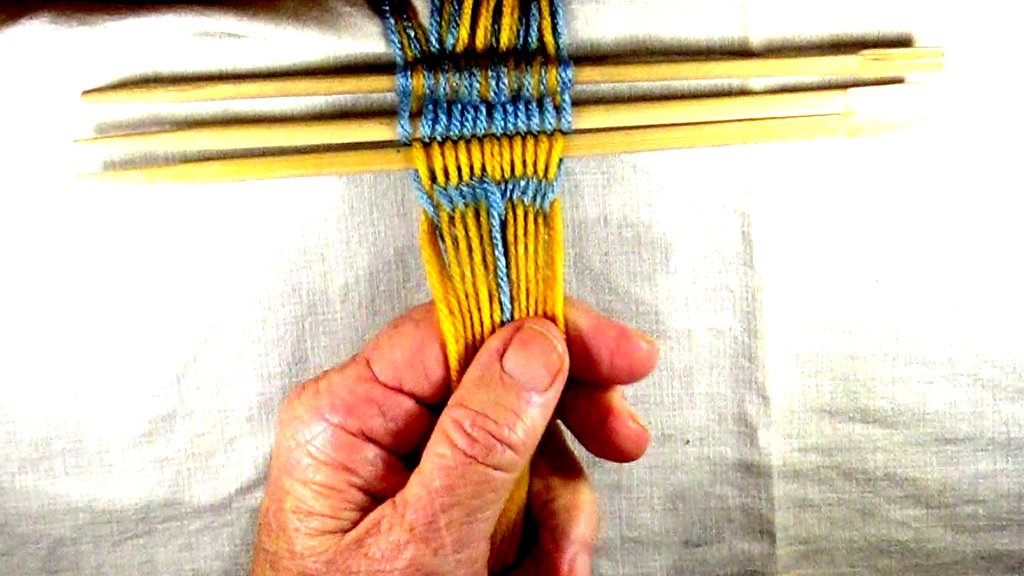
|
| Use the thumb and index finger of the right hand to pick up the first bottom layer strand of the [Z] twist side. Notice that in this row start the strand from the bottom layer crosses under two top layer strands. This configuration will help identify wich row start is beaing used. |
23
|
| Use the index finger and the second finger of the right hand to pick up the first top layer strand of the [Z] twist side. |
24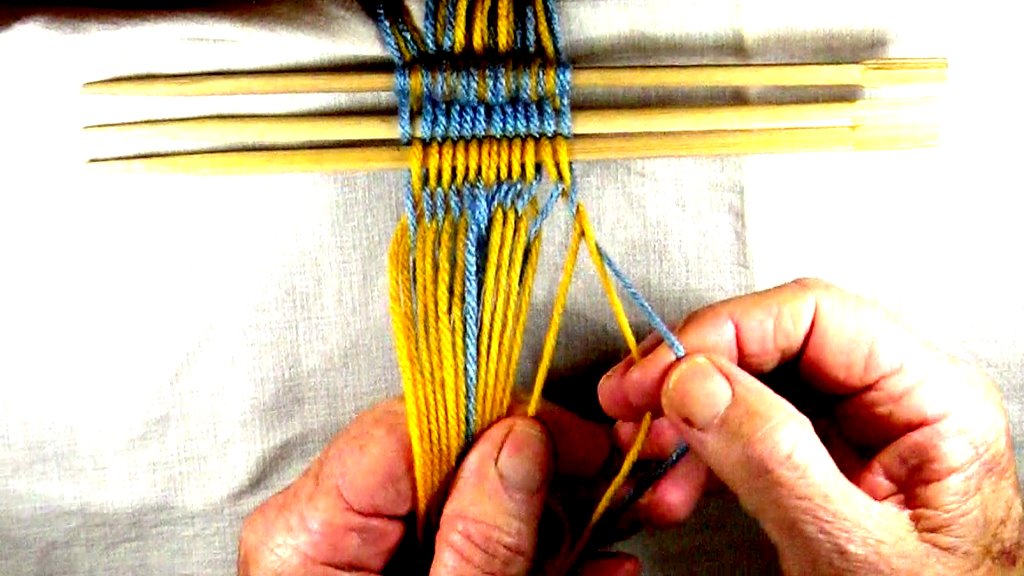
|
| Transfer the picked up strands to the right hand so that the strand that was picked up from the bottom layer is now in the top layer and the strand that was picked from the top layer is in the bottom layer. The index finger of the right hand is now being used to maintain the shed in this part of the new row of weaving.. |
25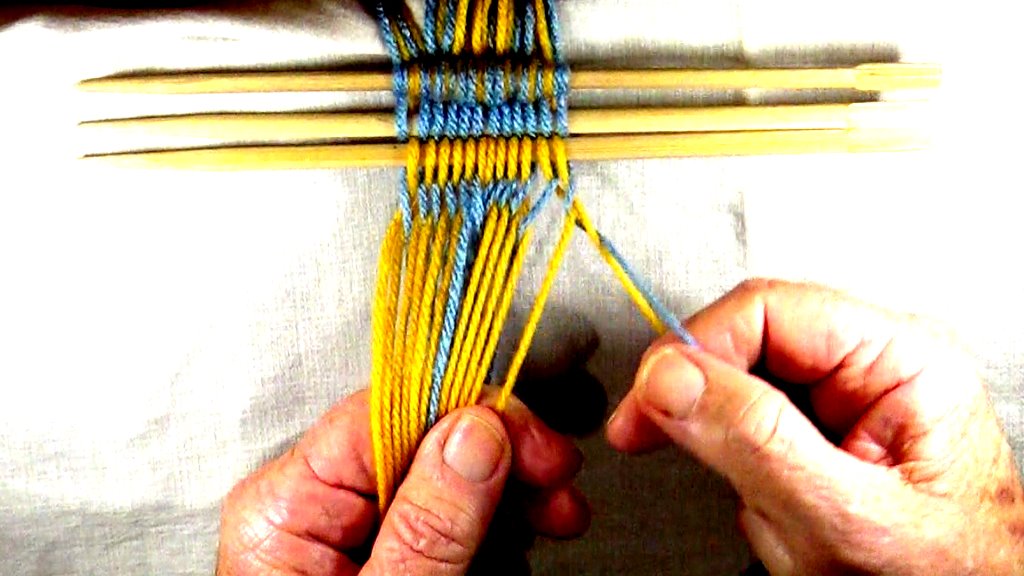
|
| Use the thumb and index finger of the right hand to pick up the next bottom layer strand of the [Z] twist side. Notice that this strand from the bottom layer crosses under two top layer strands. |
26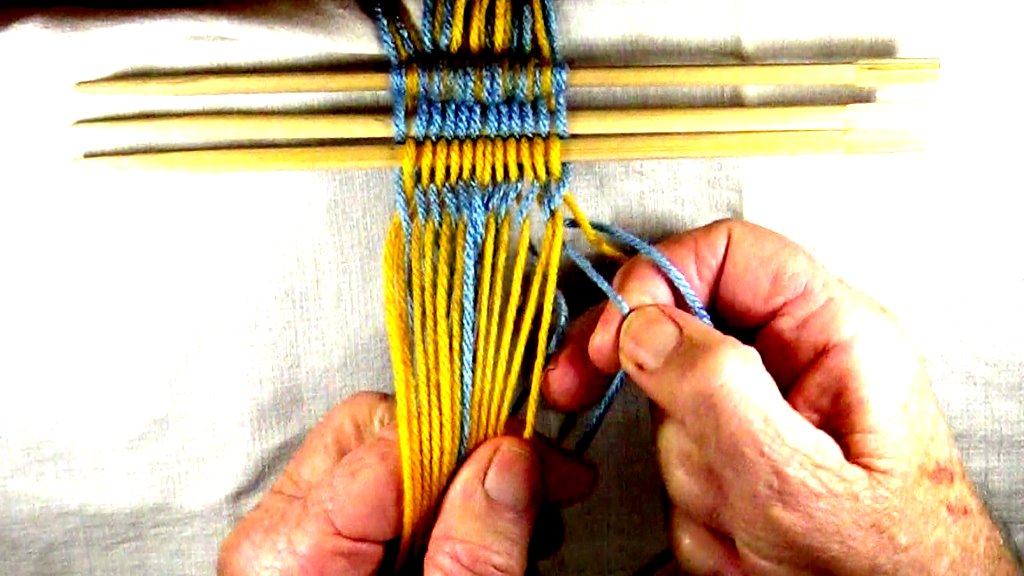
|
| Use the index finger and the secomd finger of the right hand to pick up the next top layer strand of the [Z] twist side. |
27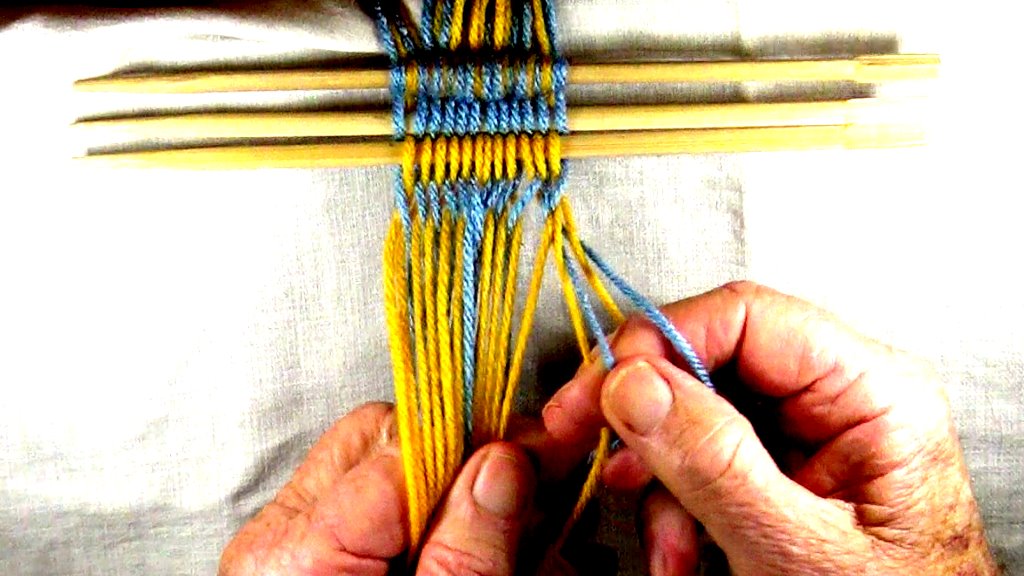
|
| Transfer the picked up strands to the right hand, so that the strand that was picked up from the bottom layer is now in the top layer and the strand that was picked up from the top layer is in the bottom layer. |
28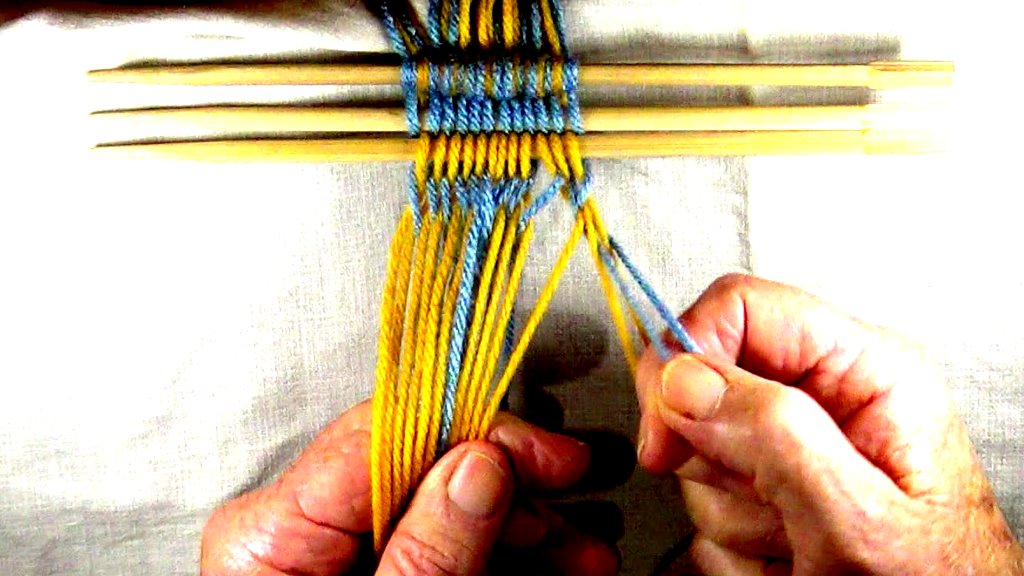
|
| Contiue weaving in this manner until there is onley one top layer strand of the [Z] twist side remaining. |
29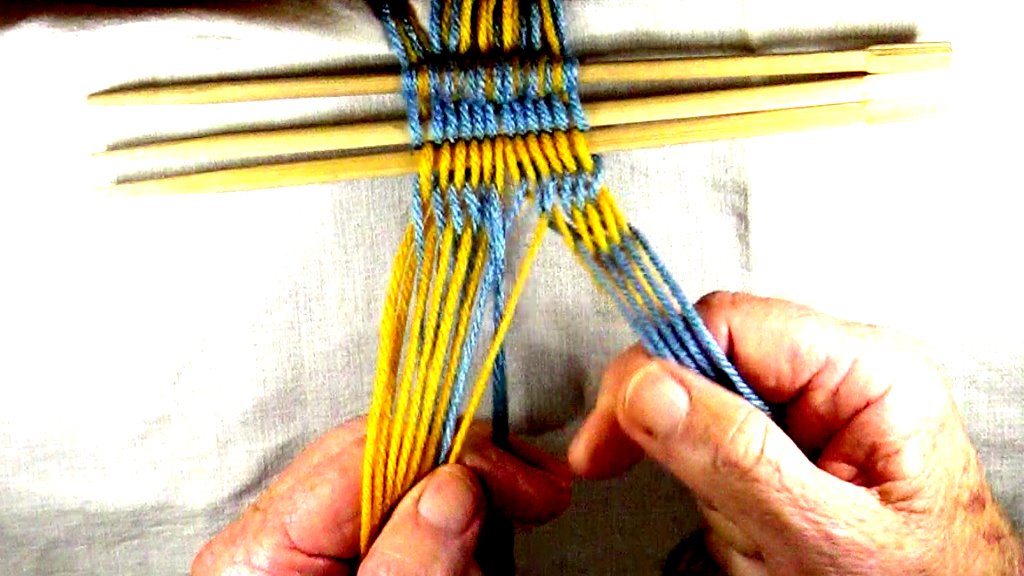
|
| Complete the interlock of the two sides by using the thumb and the index finger of the right hand to reach under the last top layer strand of the [Z] twist side and pick up the last bottom layer strand of the [Z] twist side. |
30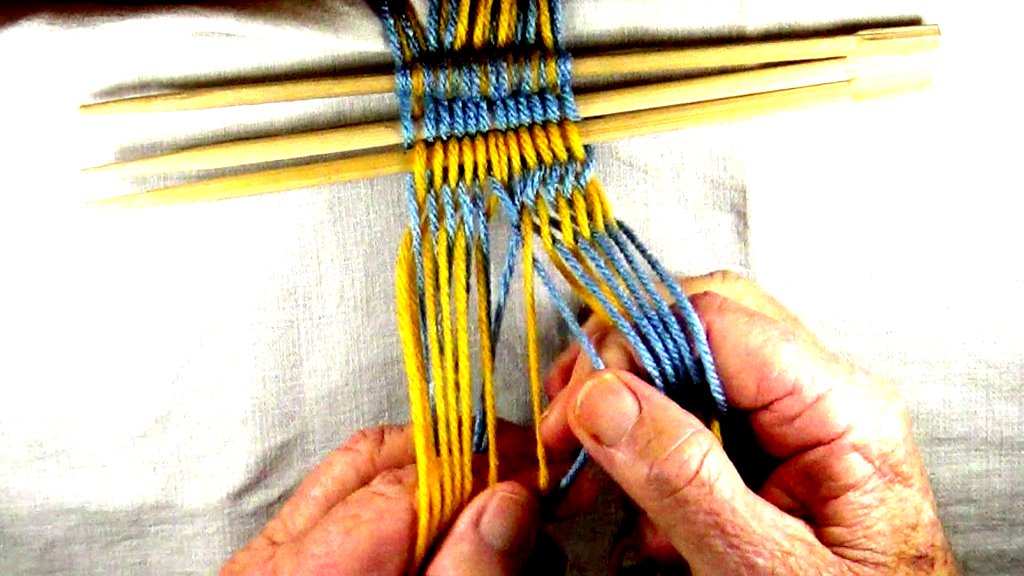
|
| Use the index finger and the second finger of the right hand to pick up the last top layer strand of the [Z] twist side. |
31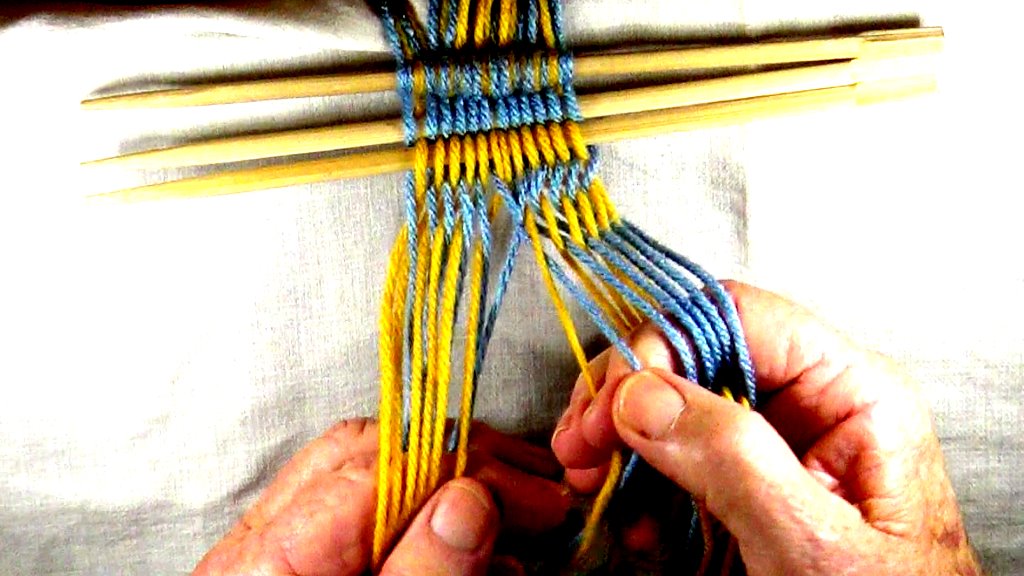
|
| Finish weaving the [Z] twist side by transfering the last two [Z] twist side strands to the right hand. |
32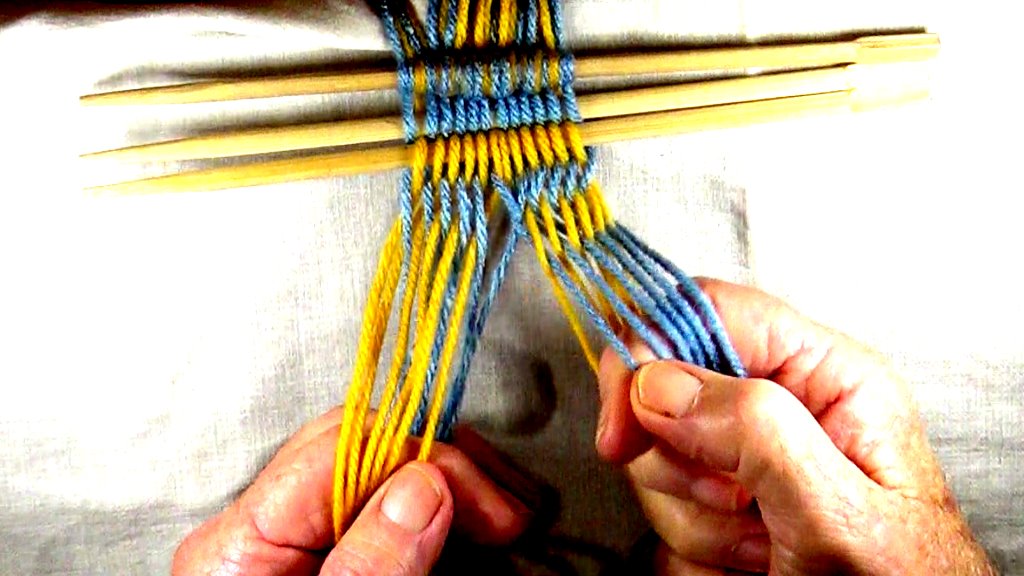
|
| Start weaving the [S] twist side by using the the index finger and the second finger of the right hand to pick up the first top layer strand of the [S] twist side. Notice that this top layer [S] twist strand crosses over two bottom layer [S] twist strands. |
33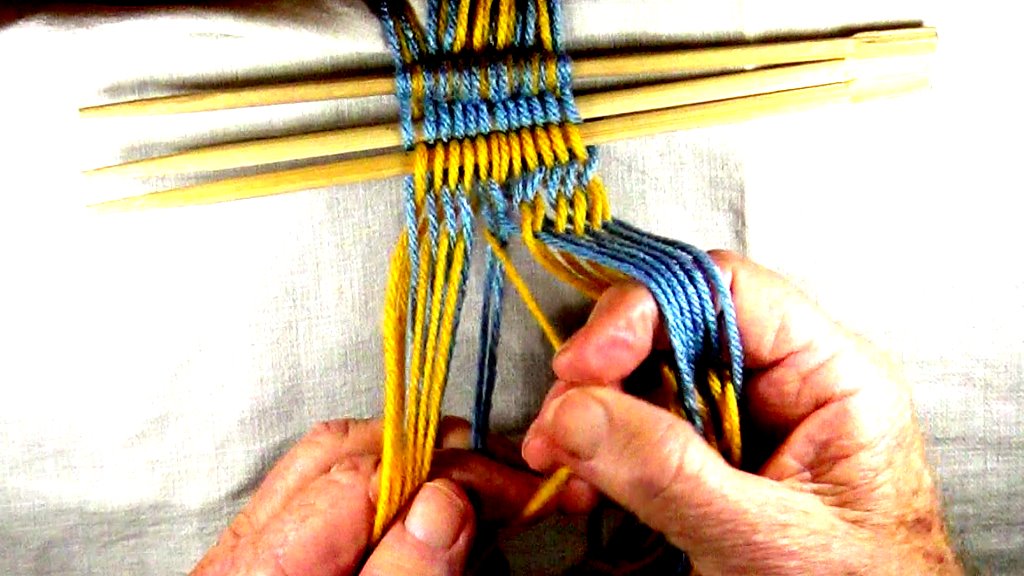
|
| Use the thunb and index finger of the right hand to pick up the first botton layer strand of the [S] twist side. |
34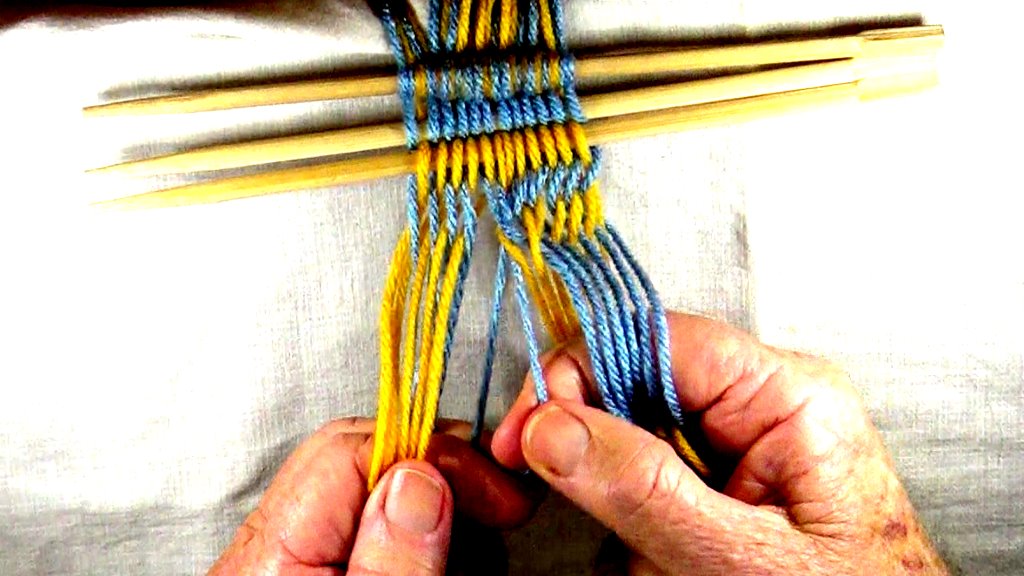
|
| Transfer the picked up strands to the right hand so that the strand that was picked up from the top layer is now in the bottom layer and the strand that was picked from the bottom layer is in the top layer. |
35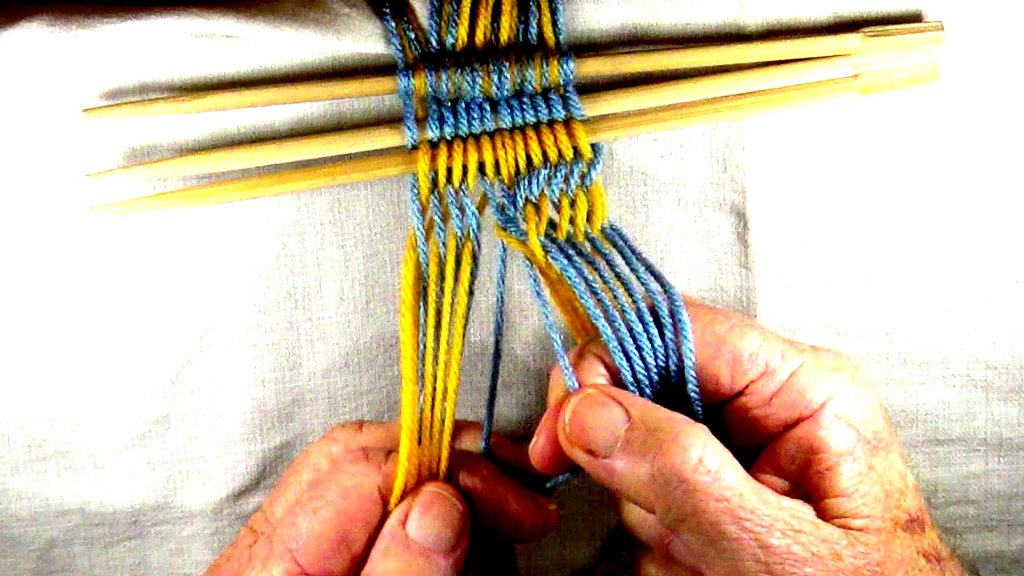
|
| Use the index finger and the second finger of the right hand to pick up the next top layer strand of the [S] twist side. Notice that this strand from the top layer of the [S] twist side crosses over two bottom layer strands of the [S] twist side. |
36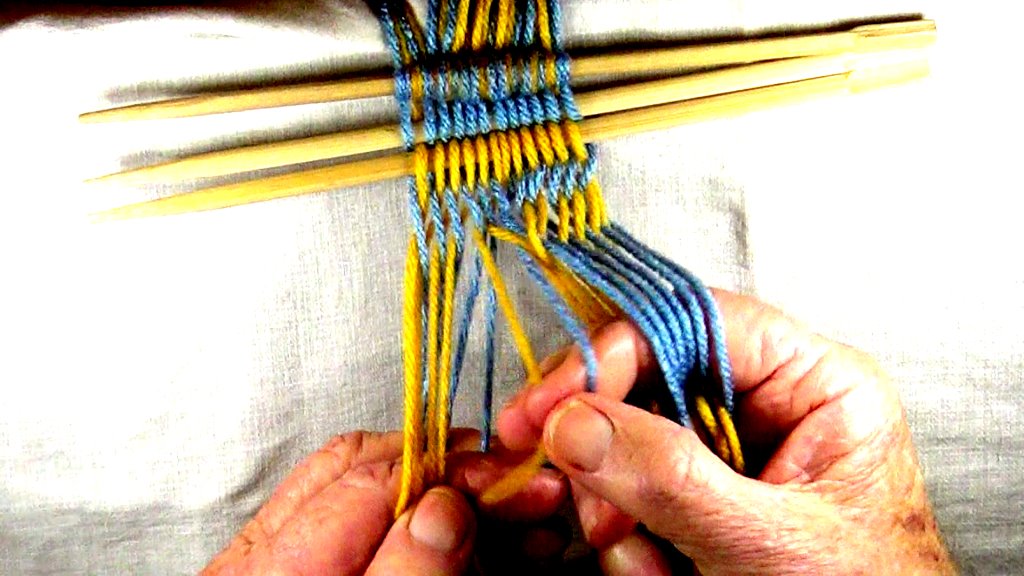
|
| Transfer the picked up strands to the right hand, so that the strand that was picked up from the top layer is now in the bottom layer and the strand that was picked up from the bottom layer is in the top layer. |
37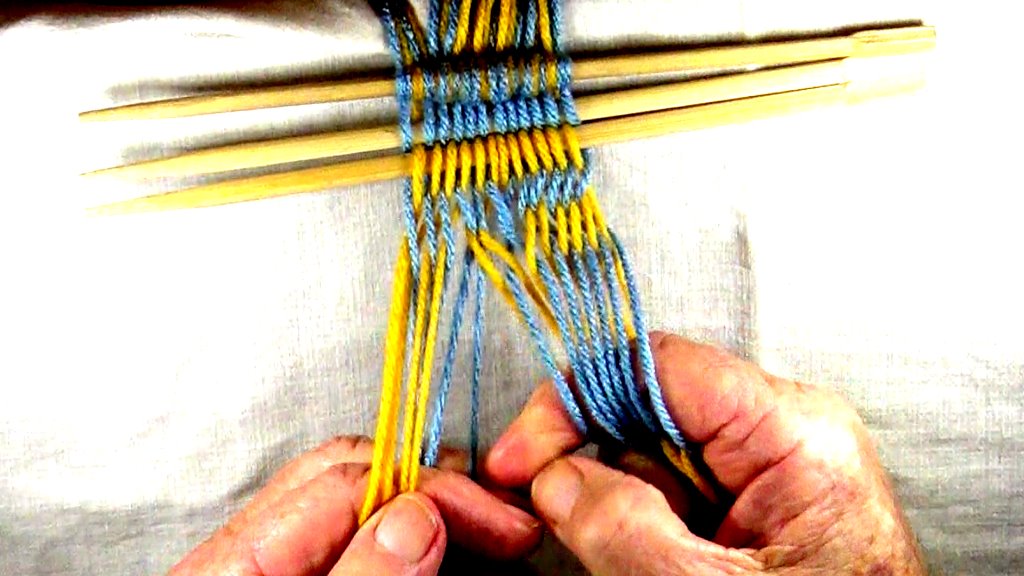
|
| Contiue weaving in this manner until all the [S] twist strands have been picked up and transfered to the right hand. |
38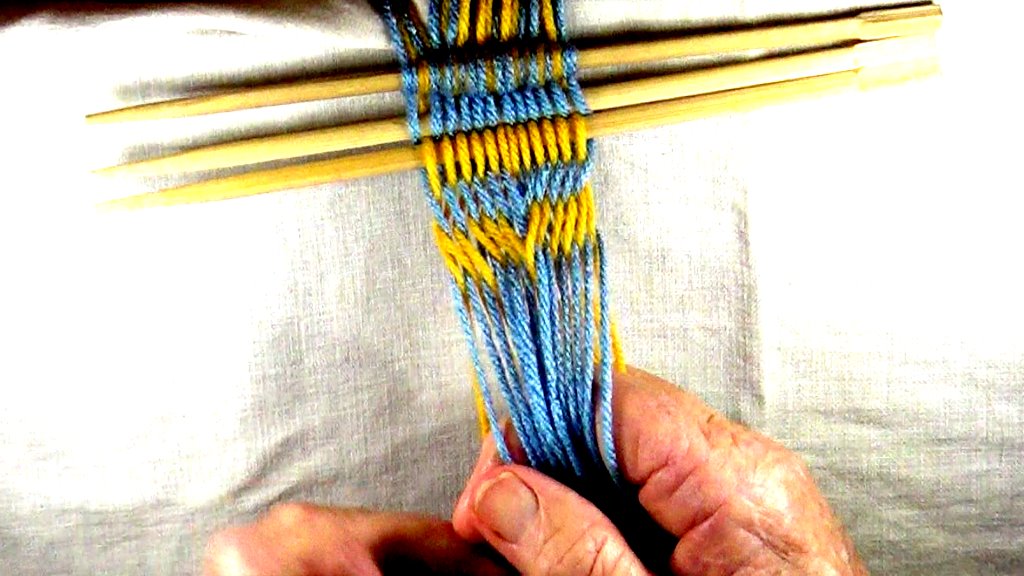
|
| Set the row of weaving by pulling the layers of the shed in opposite directions. |
39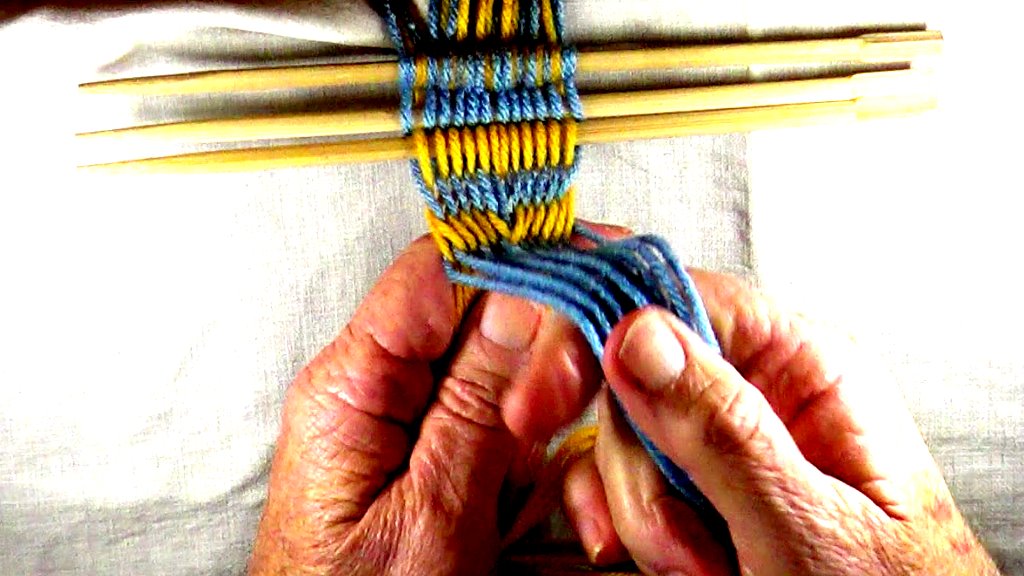
|
|
Prepair to start the next row of weaving by transfering the shed to the index finger of the left hand.
Continue weaving by alternating between the two row types until the desired length of fabric is reached. |
40
|